An easy, creamy, no-bake Peanut Butter Pie recipe that can be prepped in a matter of minutes! Today’s recipe is made from scratch, no store-bought Cool Whip required. Recipe includes a how-to video!
If you’re looking for a quick and easy, guaranteed to impress, homemade dessert for this weekend, I’ve got you covered.
Creamy, fluffy, and silky smooth over a crunchy cookie crust, chocolate & peanut butter (the best flavor combo), and NO OVEN required… this peanut butter pie recipe has it all.
My recipe is made from scratch, no Cool Whip, no gelatin, and no store-bought crust (we’re using my easy Oreo Crust instead!). Be prepared for people to ask you for the recipe.
What You Need:
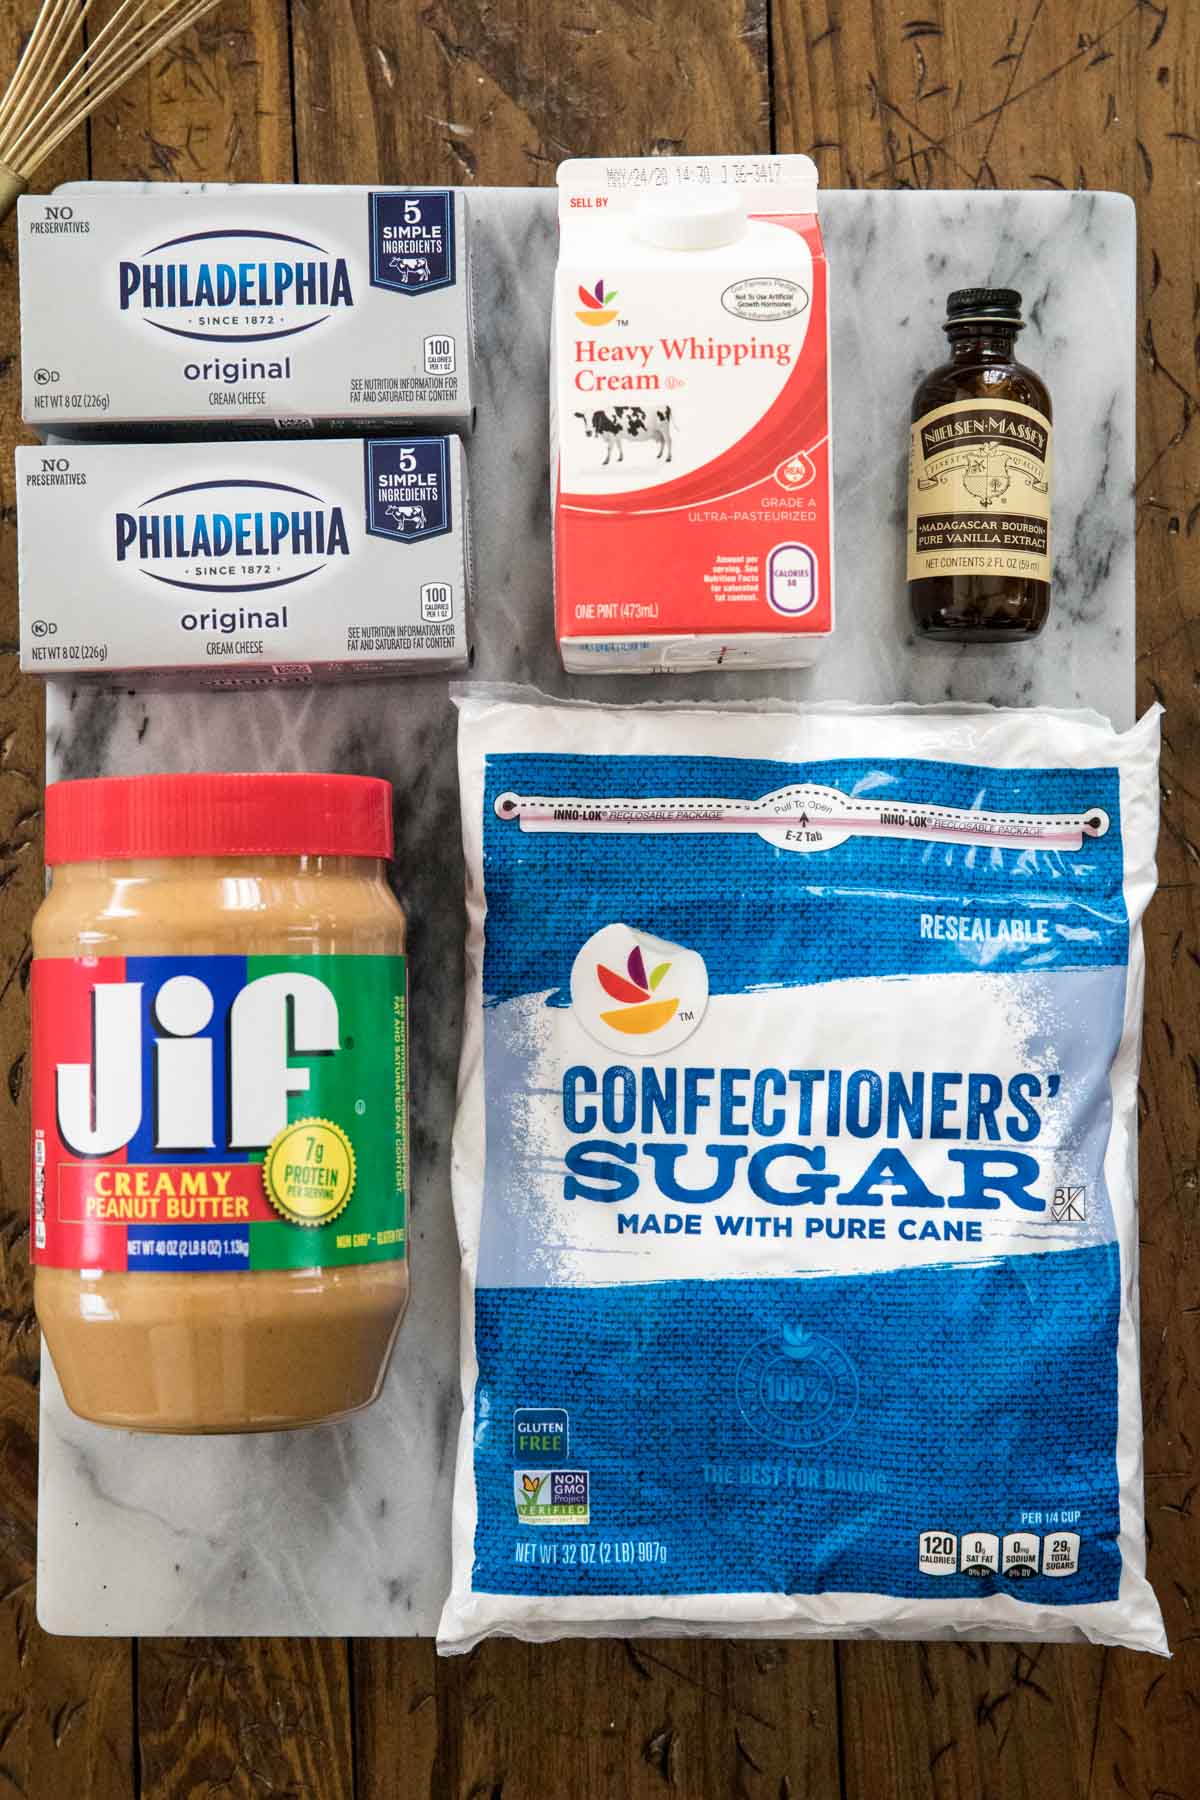
- Peanut butter. I use creamy peanut butter, but crunchy would work if you don’t mind the texture (personally? I think it might be a bit odd, but you do you). I have not experimented with natural peanut butter (the kind where the oil separates into the top) but from working with it in the past I would not recommend it here.
- Cream cheese. This not only adds excellent depth of flavor to the pie, it also helps to give it a stable, easy-to-slice consistency, without making this peanut butter pie taste like cheesecake (though, if you’re looking for one, here’s my no-bake cheesecake!). You must use brick-style cream cheese, and not the kind that’s sold as “spreadable” in tubs.
- Powdered sugar. I recently learned that this is often referred to as “Icing Sugar” in many places outside the US.
- Vanilla extract. To give the pie more flavor.
- Heavy cream. We’ll whip this into thick, fluffy whipped cream (and I’ll go into more detail about that below). Double cream or heavy whipping cream would also work, but I don’t advise any other substitutes with a lower fat content.
Then, of course, there’s the Oreo crust…
Make Your Own Oreo Crust
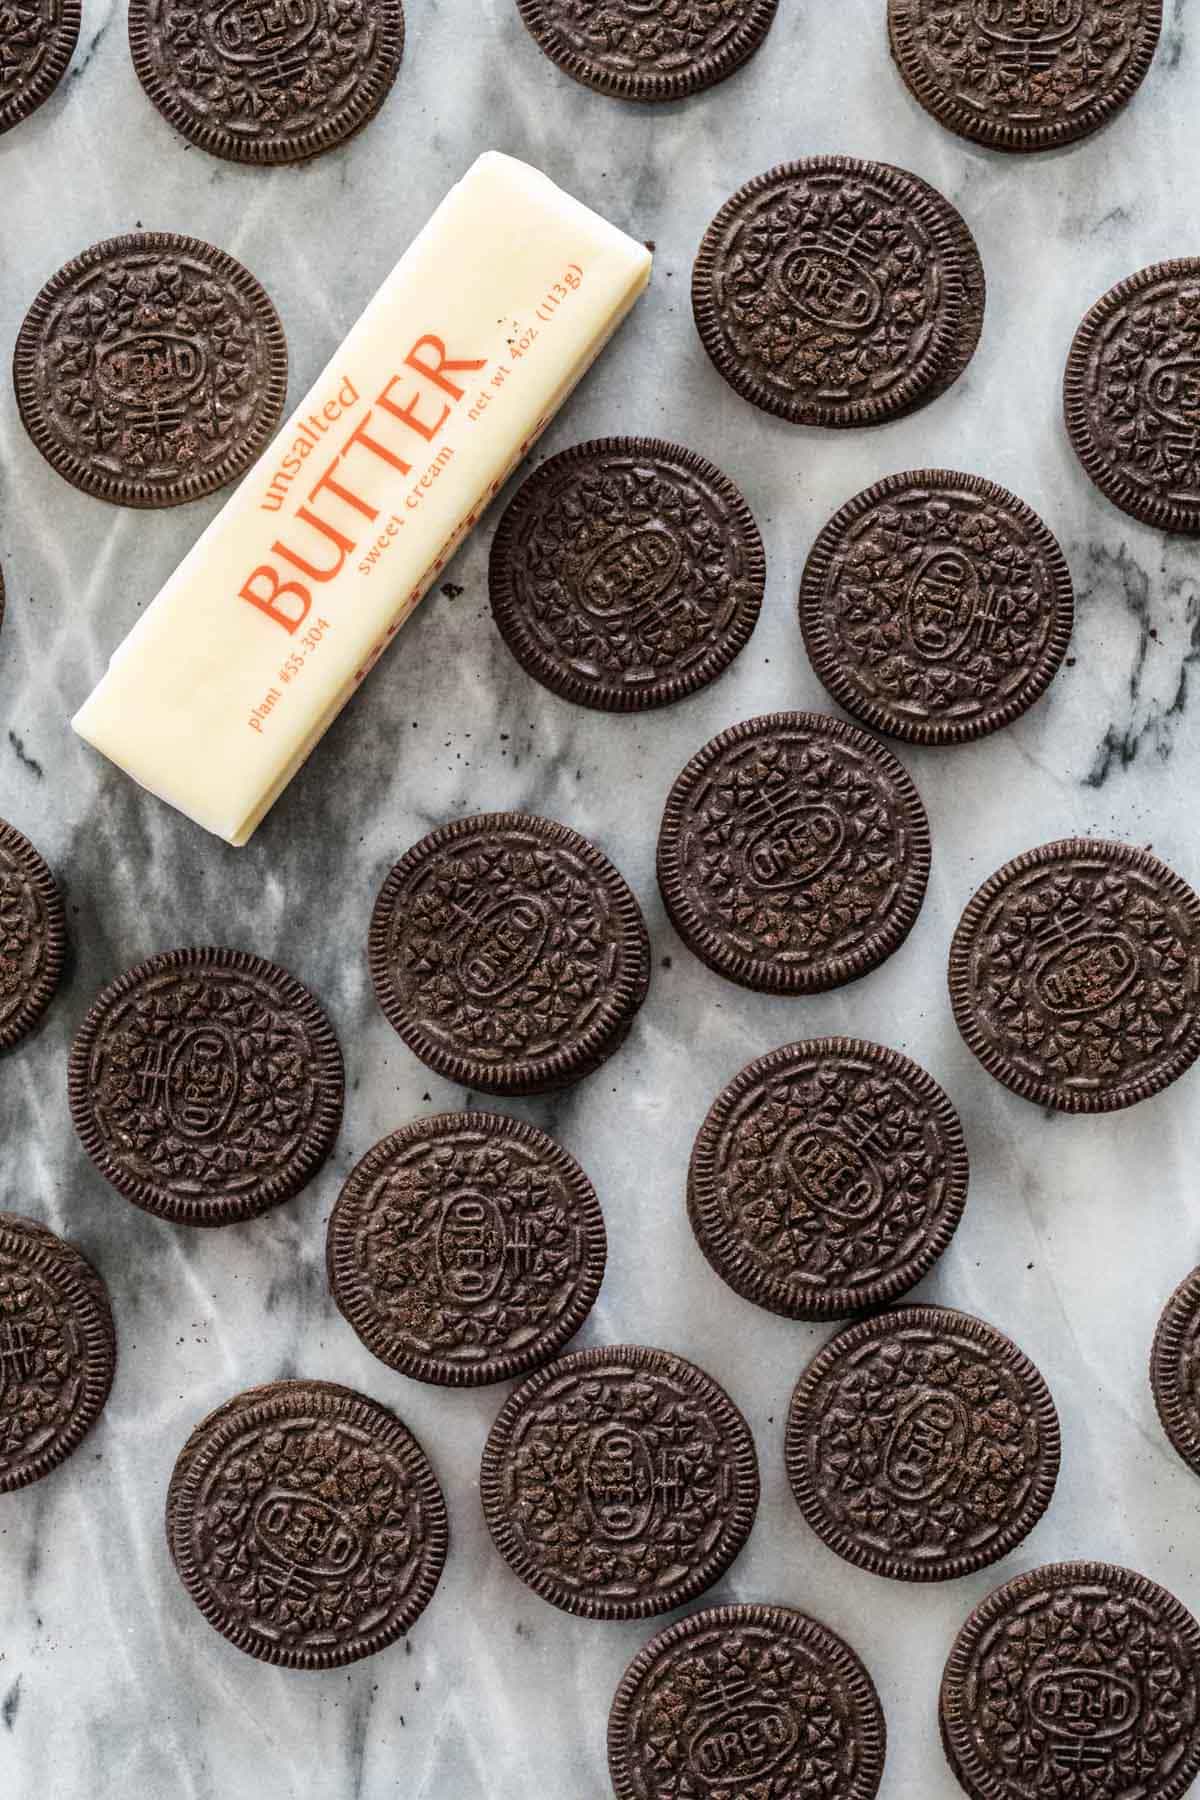
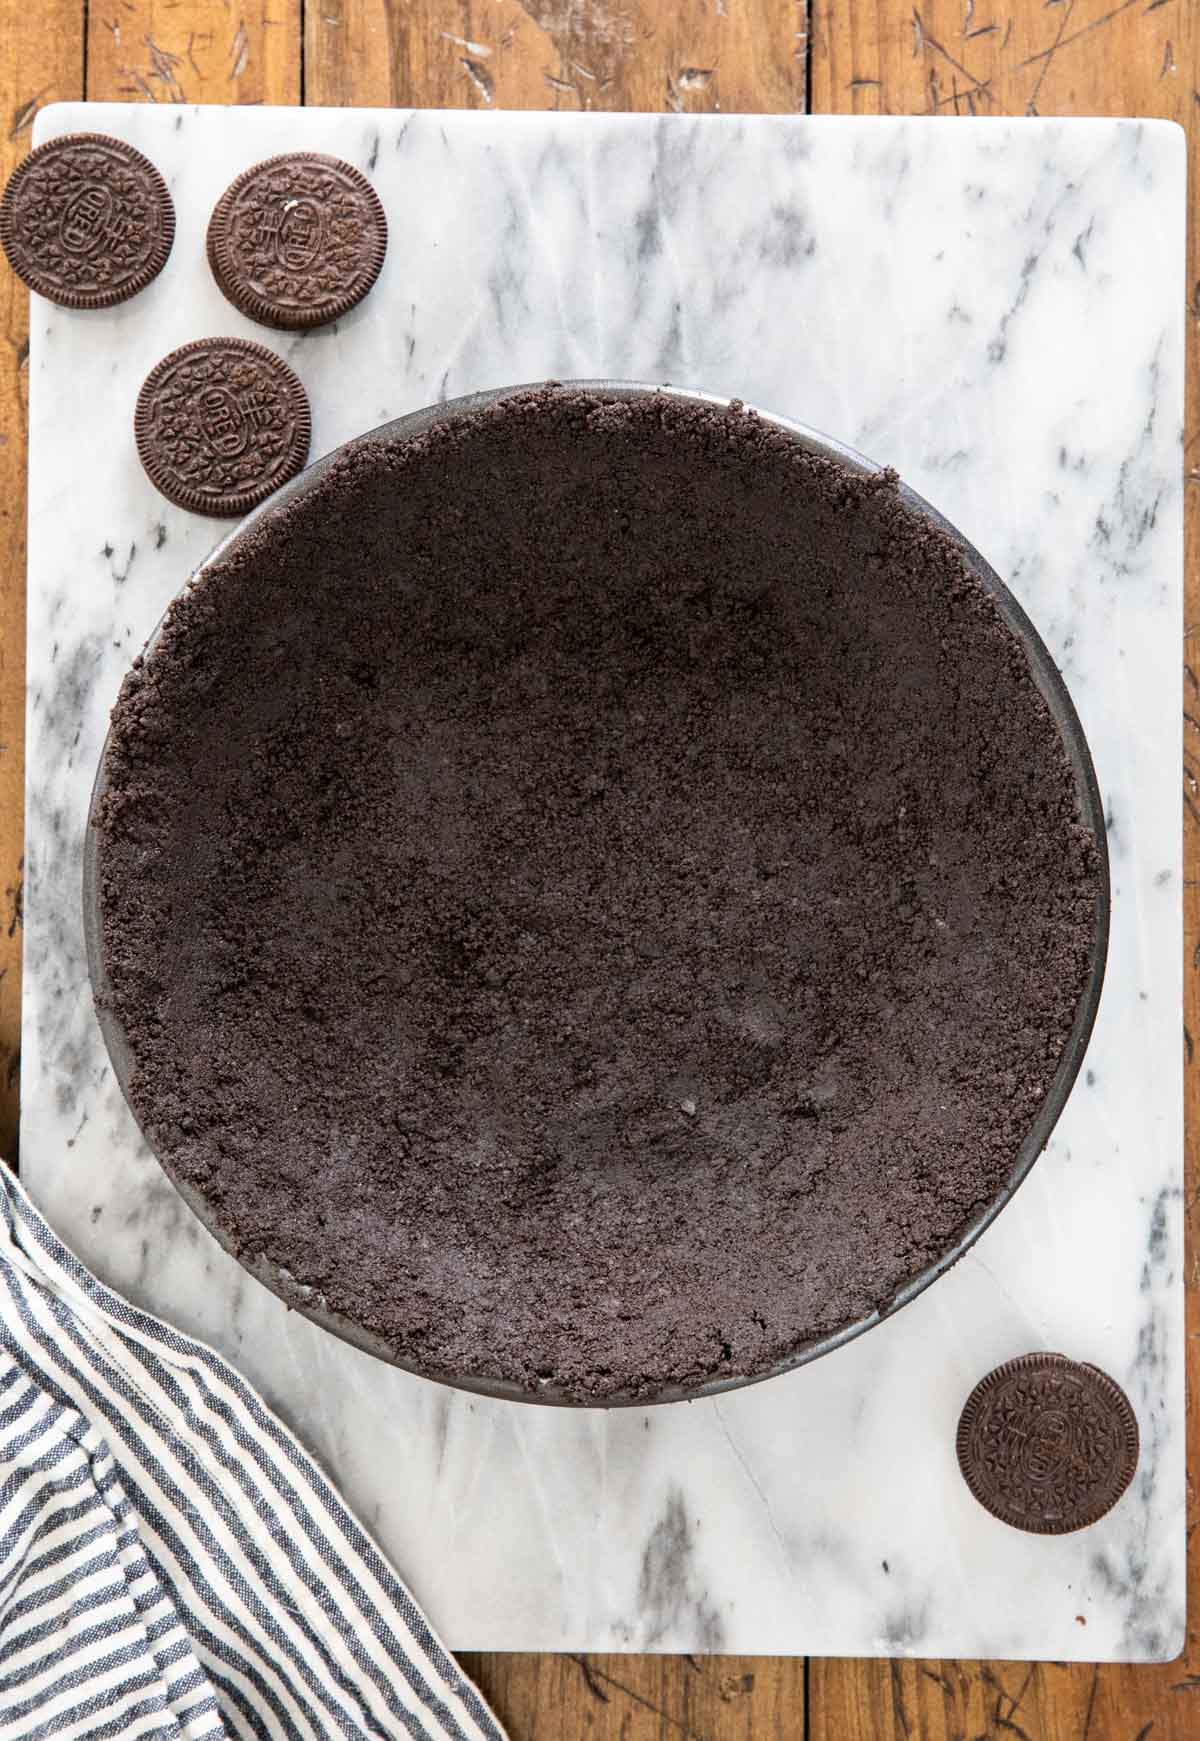
Whatever you do, do not use a store-bought crust! Not only is a pre-packaged pie crust too small to hold all of the filling we’re making today, but it’s really just so, so easy to make to make your own crust. We’re talking literally two ingredients: Oreos and butter.
You just don’t get that same buttery cookie crumb when you buy a pre-made, packaged crust. If you don’t like or can’t eat chocolate, you can make my equally simple graham cracker crust, instead (or substitute the Oreo cookies for Golden Oreos or Biscoff cookies instead… yum!). There’s no need to pre-bake the crust before using, either. Simply form it and pop it in the freezer while you prepare your filling.
Homemade Whipped Cream > Cool Whip
You know what really sets this peanut butter pie apart from any of the others? It’s the homemade whipped cream. Most recipes use Cool Whip to help give their pies structure (and that pillowy consistency), but we’re making our own.
It not only gives the pie a better (and less artificial!) flavor, it’s incredibly simple to make (and if you’ve made my Eton Mess or Strawberry Shortcake, you’ve already done it!). It gives the pie a fluffy, creamy texture and a richer flavor (and did I mention it won’t make the pie taste artificial!?). If you haven’t whipped cream before ordered have questions about stiff peaks or any other aspect of the process, check out my guide on how to make whipped cream.
Freezer Vs. Refrigerator
You can either refrigerate or freeze. Refrigerating requires at least 4-6 hours of chilling. The pie firms up nicely and has a consistency that’s soft, similar to my chocolate pie. Most recipes call for refrigeration rather than freezing.
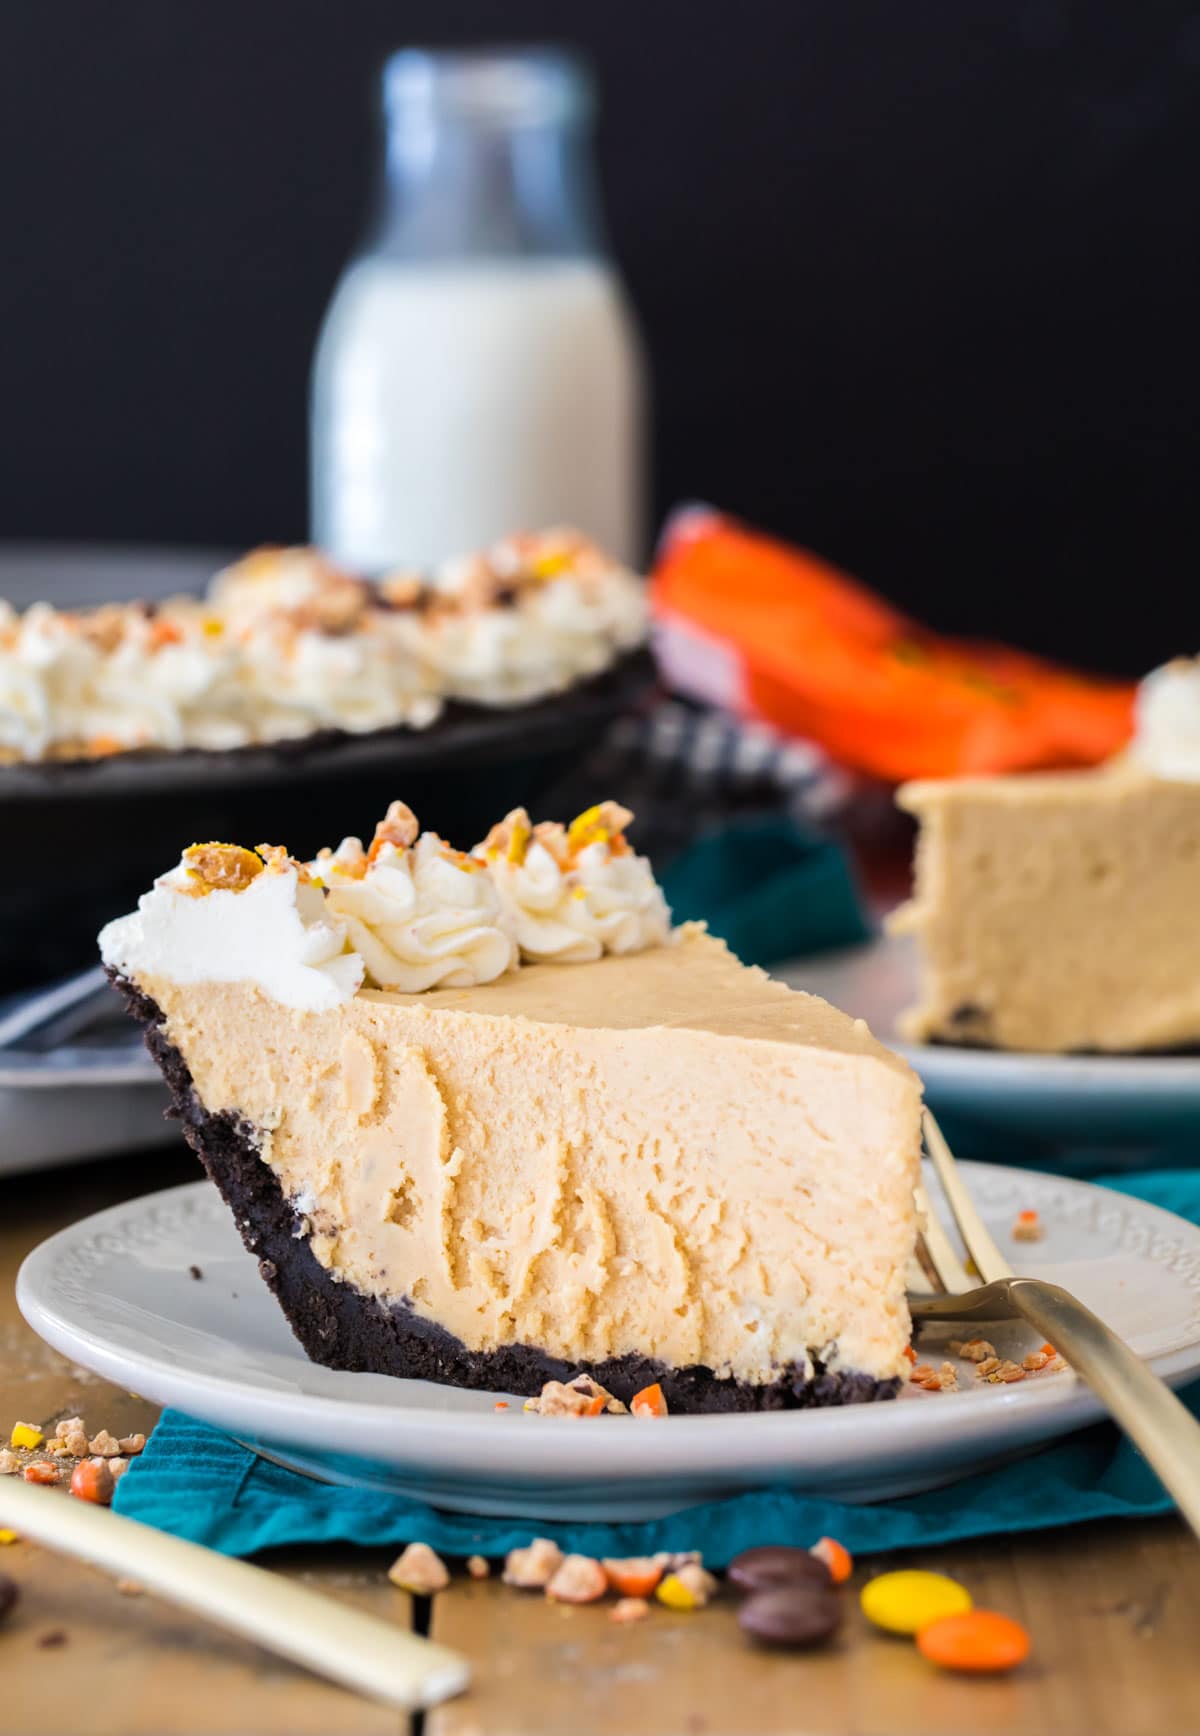
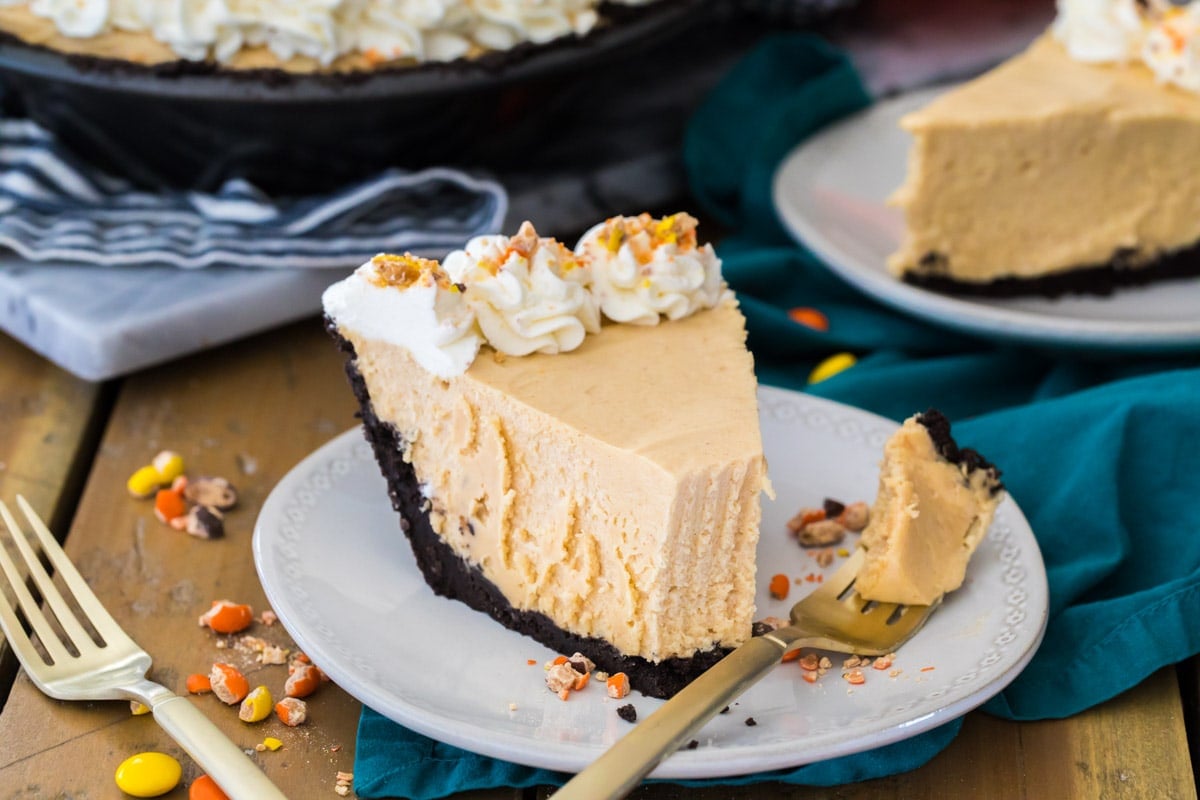
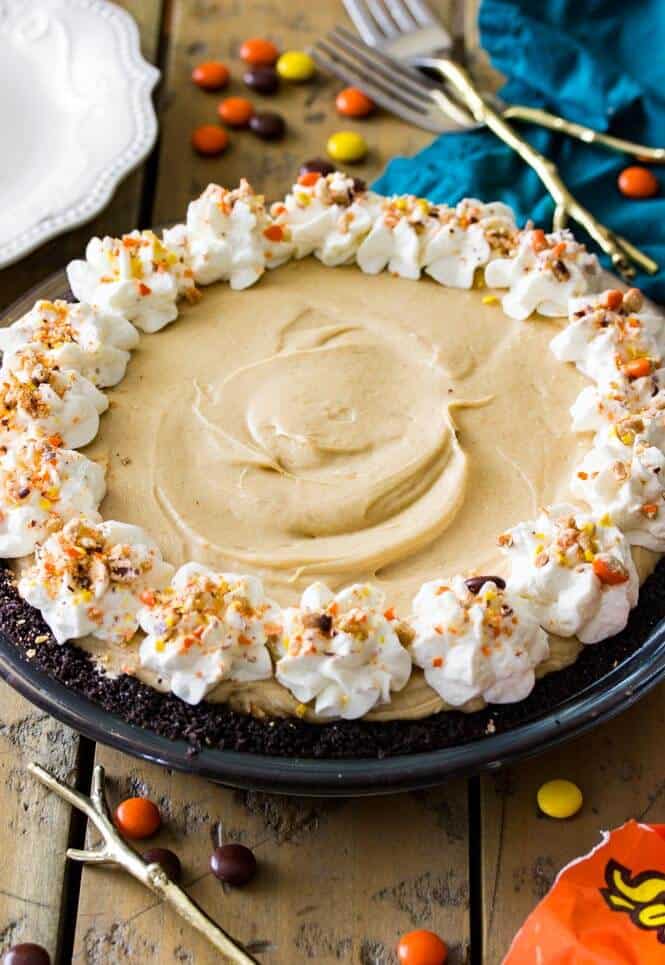
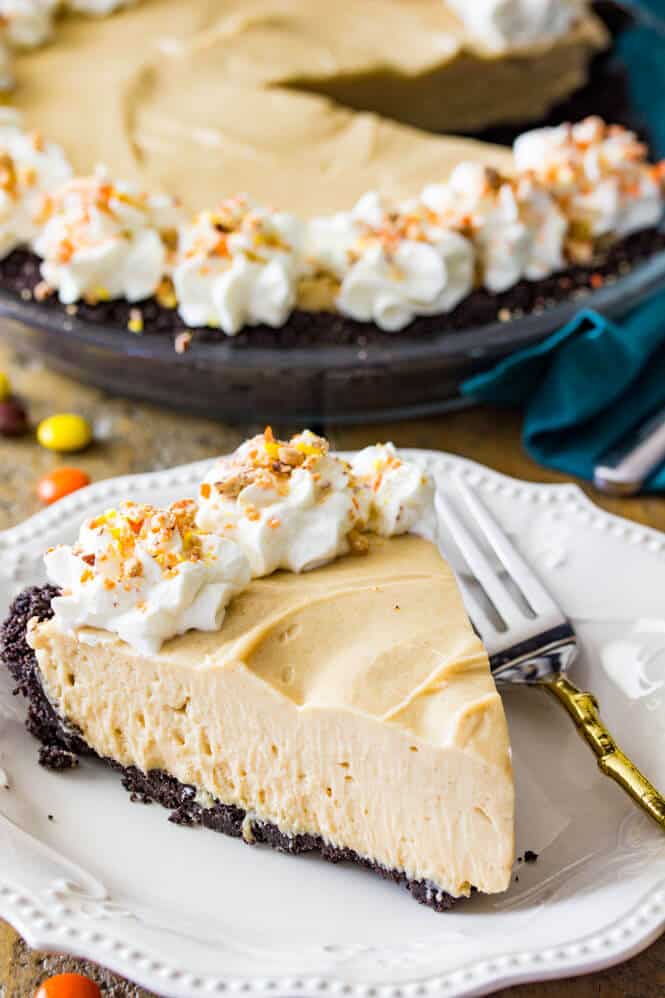
Freezing requires at least 2 hours of chilling. Frozen peanut butter pie ends up even more firm than when refrigerated and has a consistency that’s closer to my cheesecake or chocolate icebox pie. The photos in this post were of a frozen pie. The original photos shown below the recipe were of a refrigerated pie, if that helps you judge the consistency better!
Storing & Serving
Regardless of whether you keep your pie in the refrigerator or freezer, cover it well with plastic wrap. It will keep in the fridge for about 5 days, or in the freezer for about a month.
Peanut butter pie softens fairly quickly at room temperature, especially during the hot summer months. Because of this, I recommend keeping it chilled whenever you aren’t slicing it (no matter where you store it).
Toppings
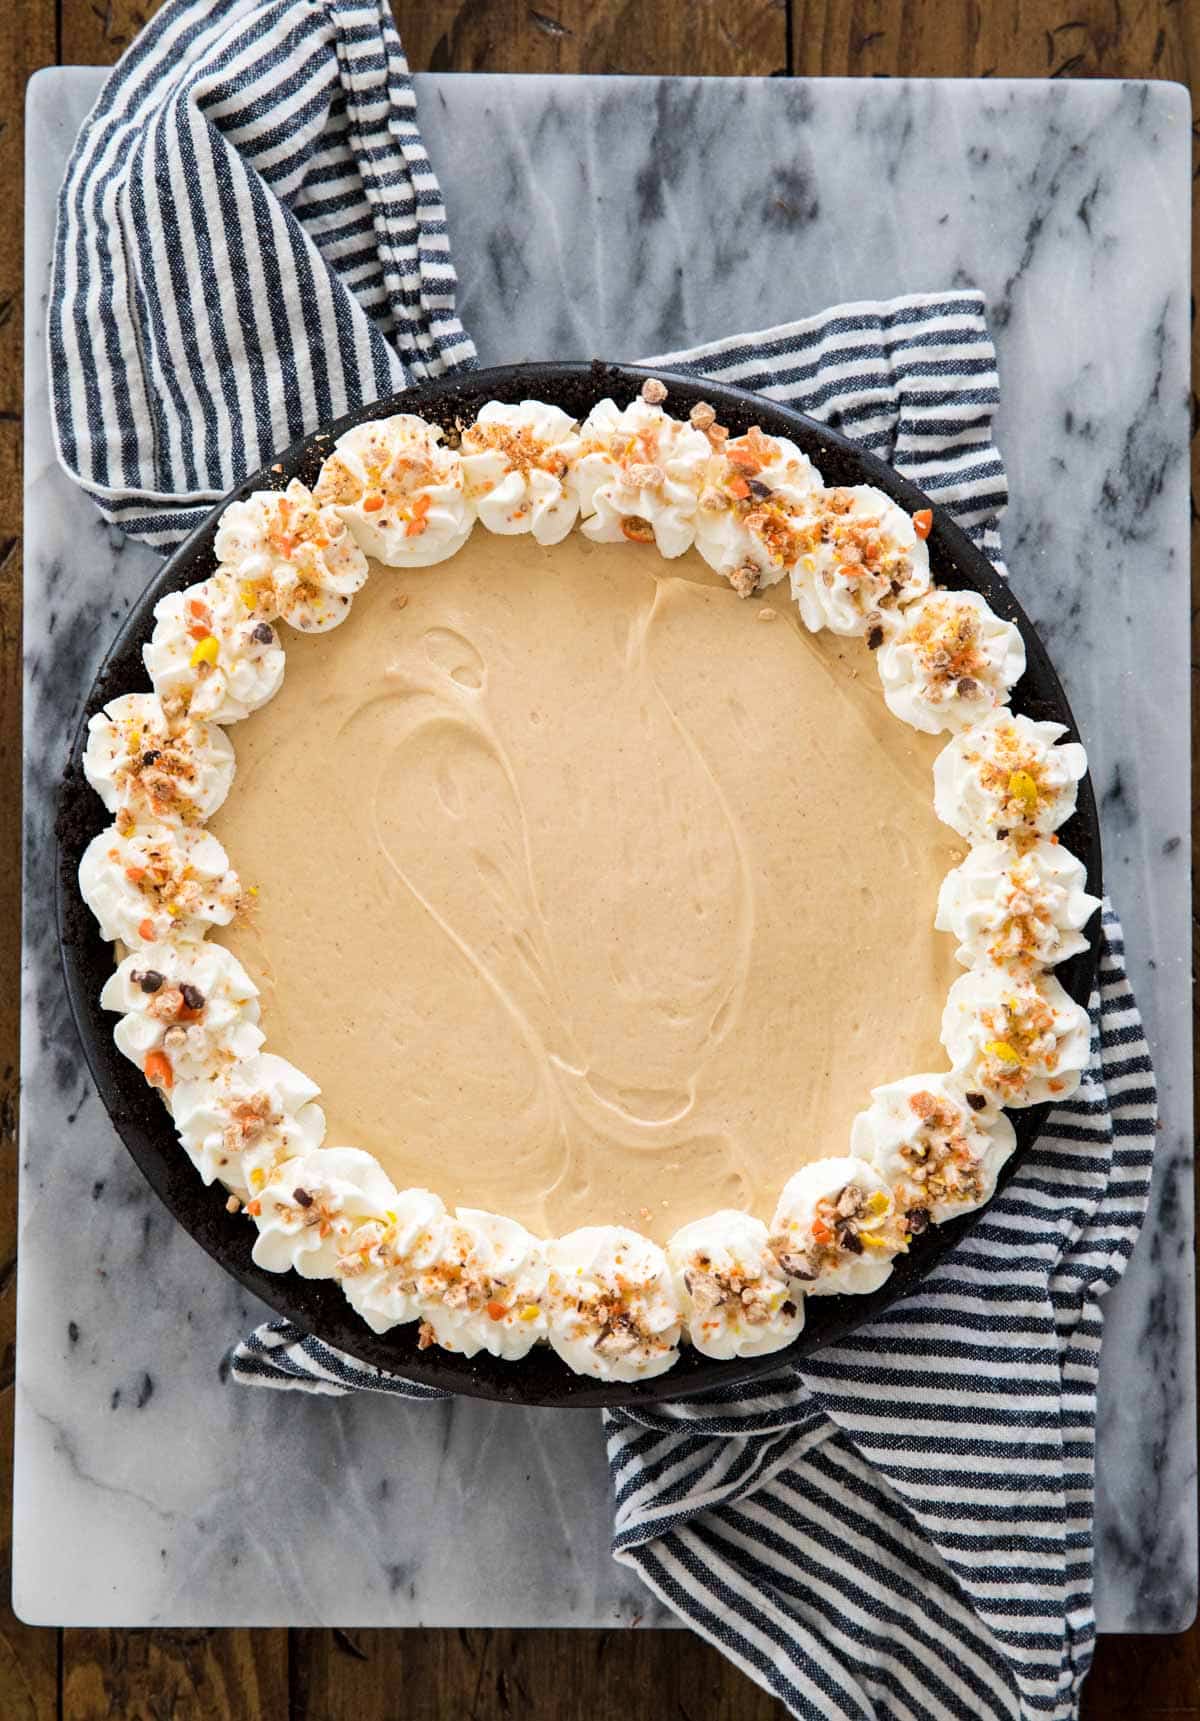
First, let me be perfectly clear: This pie is perfect without any toppings. It’s silky smooth, creamy, and fluffy over a crunchy Oreo crust so all of your flavor and texture bases are covered. However, after making and chilling the pie, I like to pipe a decorative border (I use a 2A tip) of homemade whipped cream around the edge and then sprinkle that with crushed Reese’s Pieces. It adds a nice extra pop of color, but again, totally optional.
Alternatively you could drizzle your slice with homemade caramel sauce or chocolate sauce (one of my favorite additions)… yum!
More Recipes You Might Enjoy:
- Strawberry Cream Cheese Pie
- Buckeye Recipe
- Peanut Butter Fudge
- Peanut Butter Bars
- BEST Peanut Butter Cookies
Enjoy!
Don’t forget to watch the how-to VIDEO in the recipe card, where I make this pie in my own kitchen! If you try this recipe, please leave me a comment and let me know what you think!
Peanut Butter Pie
Ingredients
Oreo Crust
- 24 Oreo sandwich cookies (do not remove the cream filling)
- 5 Tablespoons (70 g) butter, melted (salted or unsalted)
Peanut Butter Pie Filling
- 12 oz (340 g) cream cheese (brick-style, not the "spreadable" kind sold in tubs) softened
- 1 ½ cups (375 g) creamy peanut butter
- 2 ¼ cups (280 g) powdered sugar, divided
- 1 teaspoon (5 ml) vanilla extract
- 1 ½ cups (355 ml) heavy cream
For Whipped Cream Topping (optional)
- ¾ cup (175 ml) heavy cream
- ¼ cup (30 g) powdered sugar
- ½ teaspoon vanilla extract
- 2 Tablespoons crushed Reese's Pieces for decorating optional
Recommended Equipment
Instructions
Oreo Crust
- Prepare your pie crust first by placing Oreo cookies in a food processor and pulsing until nothing but fine crumbs remain24 Oreo sandwich cookies
- Add melted butter and pulse until well-combined.5 Tablespoons (70 g) butter, melted (salted or unsalted)
- Pour cookie crumb/butter mixture into the bottom of a 9 ½" pie pan. Use the back of a spoon or the clean flat bottom of a measuring cup to evenly, firmly press crumbs into the bottom and sides of pie pan.
- Place in freezer while you assemble your filling.
Peanut Butter Pie Filling
- In a large bowl, combine softened cream cheese and peanut butter. Use an electric mixer to stir until well-combined.12 oz (340 g) cream cheese (brick-style, not the "spreadable" kind sold in tubs), 1 ½ cups (375 g) creamy peanut butter
- Gradually add 1 cup (125g) of powdered sugar, stirring until completely combined.2 ¼ cups (280 g) powdered sugar, divided
- Stir in vanilla extract.1 teaspoon (5 ml) vanilla extract
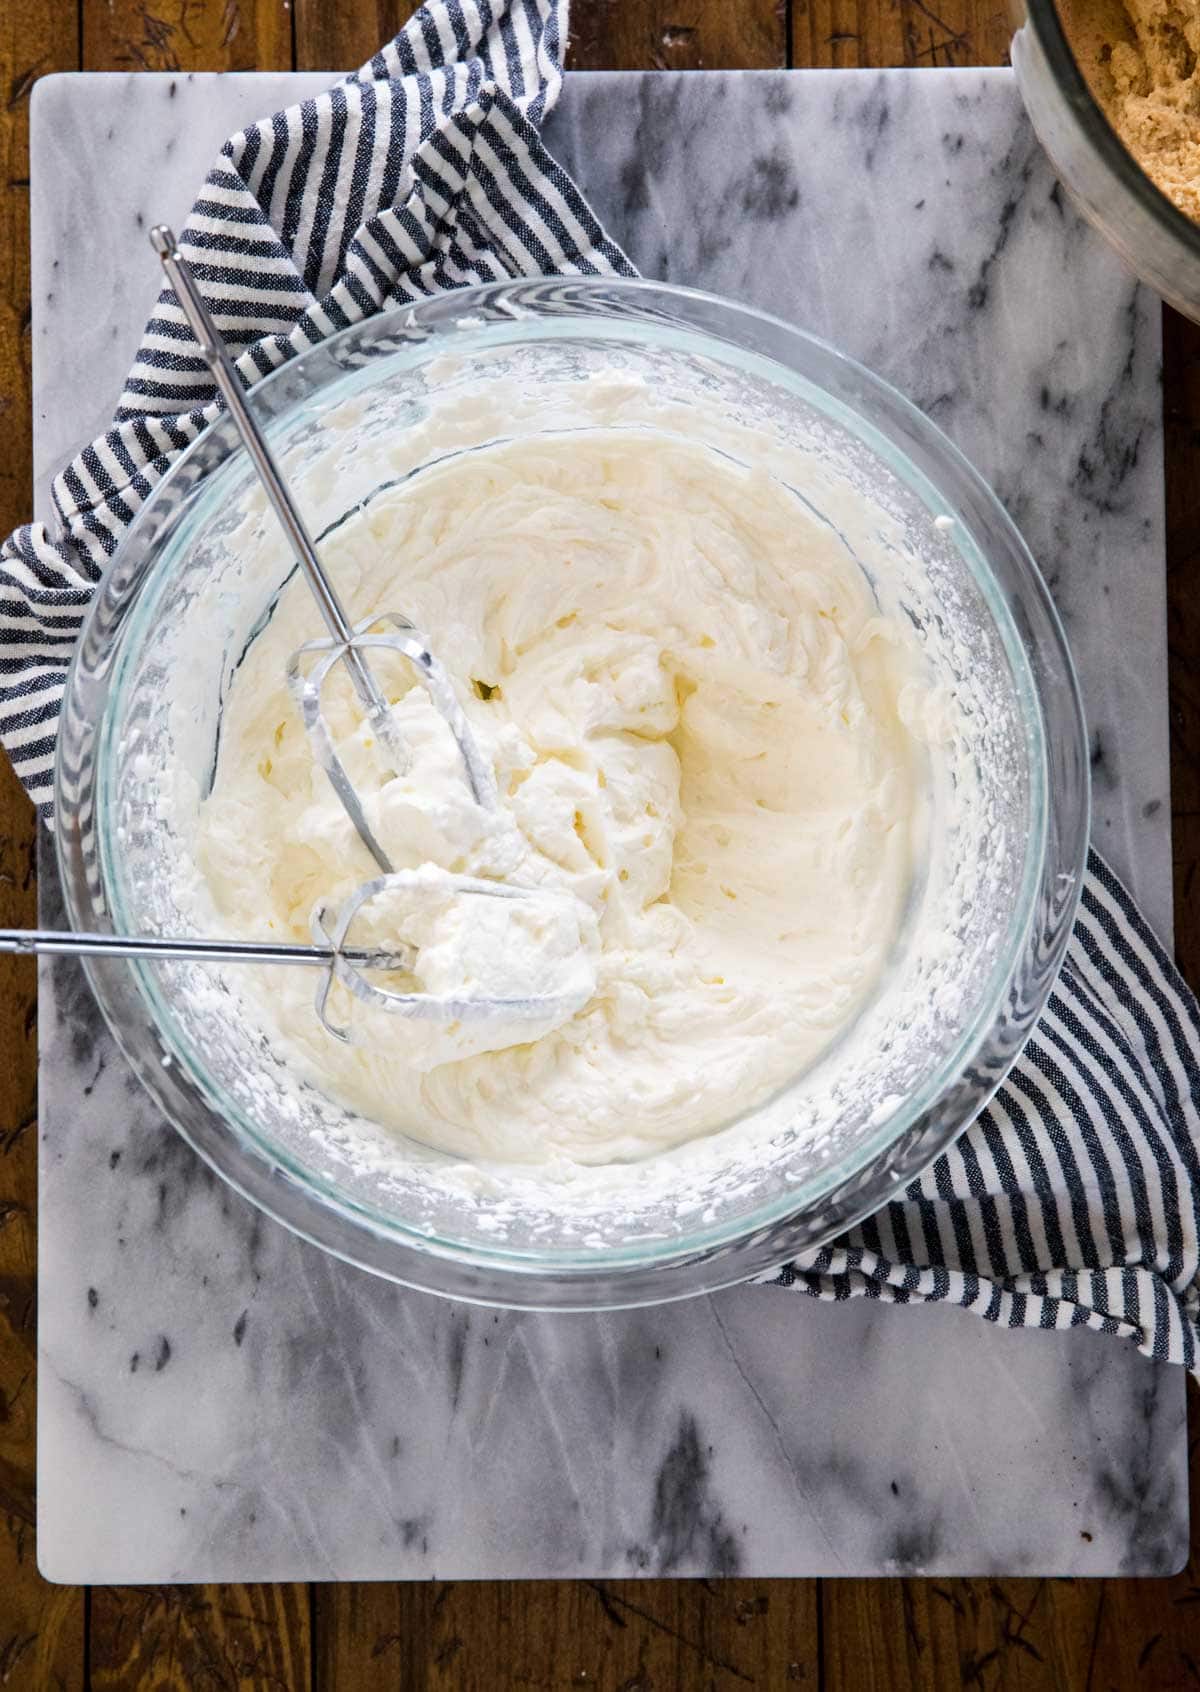
- Pour 1 ½ cups heavy cream in a separate, medium-sized, clean bowl. Add remaining 1 ¼ cup (155g) of powdered sugar, and use an electric mixer to beat, starting on low-speed and gradually increasing to high, until stiff peaks are achieved (mixture should be thick, fluffy, and resemble Cool Whip, see image in post or video for a visual).1 ½ cups (355 ml) heavy cream
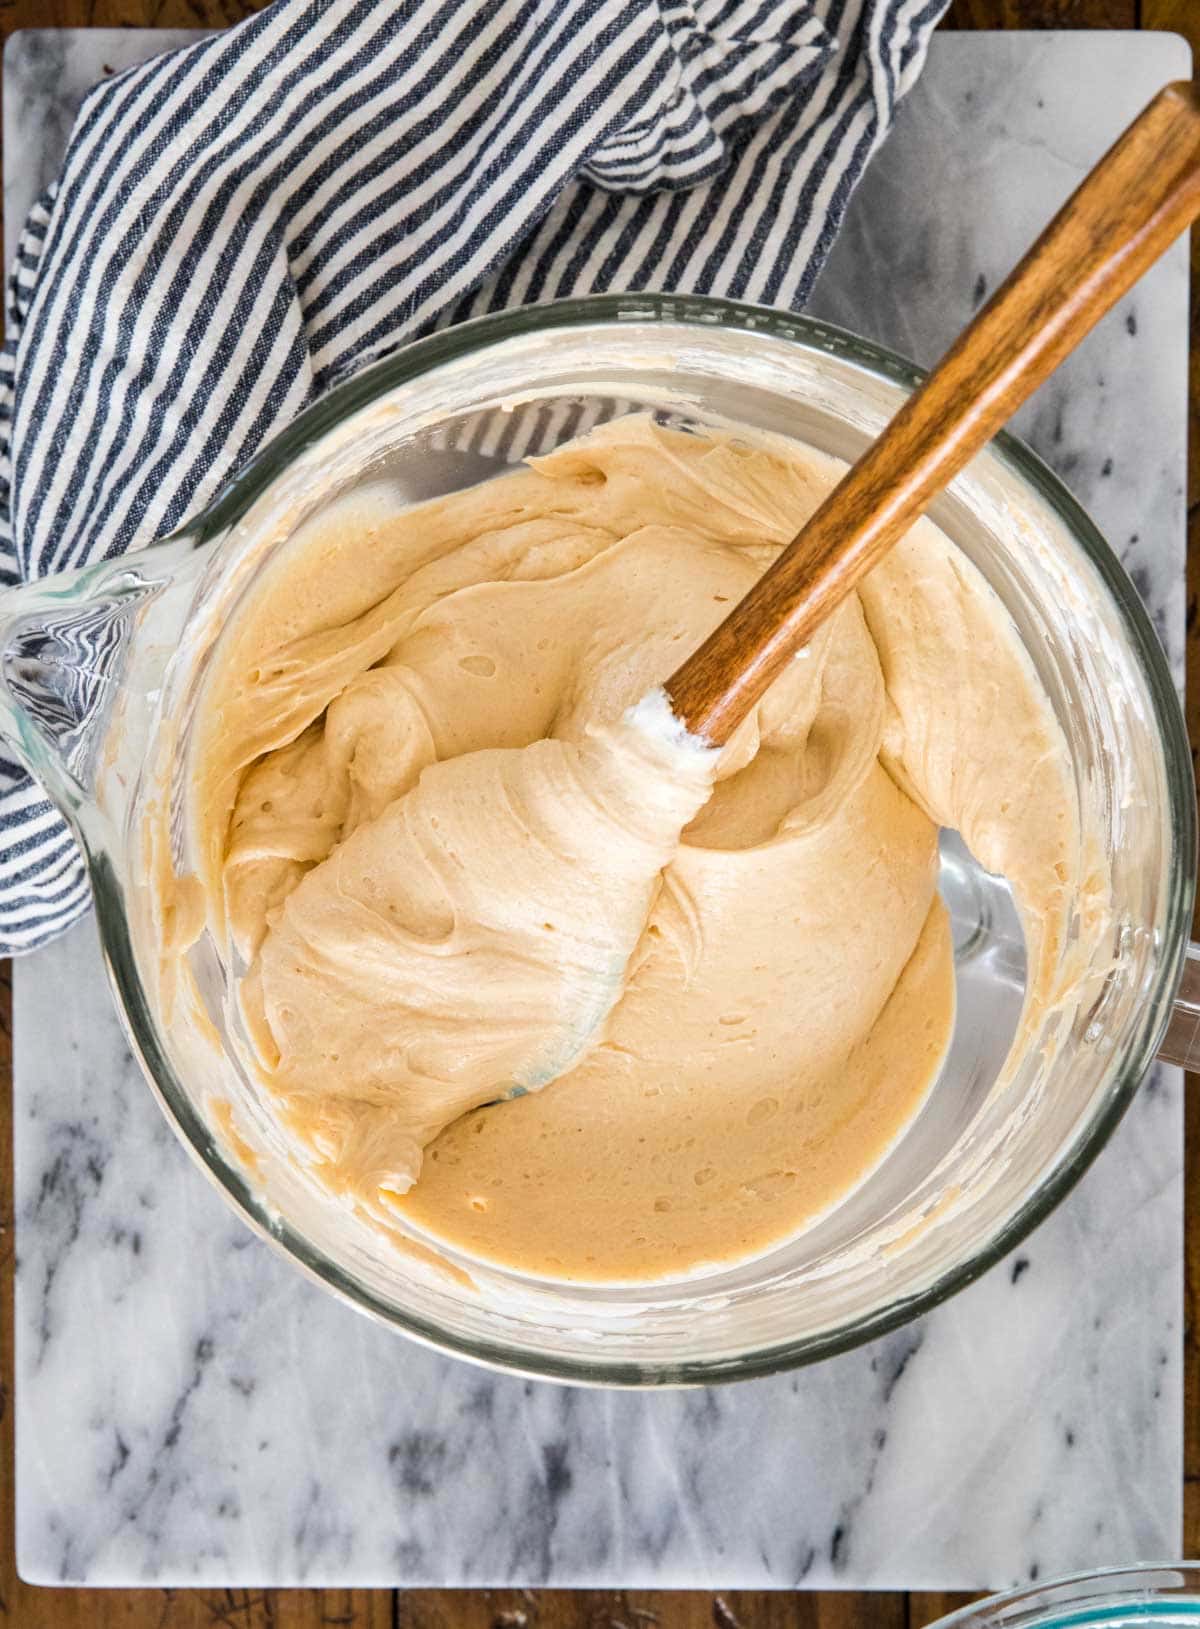
- Add whipped cream into peanut butter mixture and stir gently, but as well as you can using a spatula. Switch to your electric mixer on low and use that to briefly stir until the ingredients are well-combined and smooth (don't over-mix).
- Spread peanut butter filling evenly into prepared pie crust and refrigerate covered for 4-6 hours (preferably overnight), or freeze¹, covered, for at least 2 hours before serving. Prepare whipped cream shortly before serving (if using).
Homemade Whipped Cream Topping (optional)
- Before serving the pie, combine ¾ cup heavy cream, powdered sugar, and vanilla extract in a clean medium-sized bowl.¾ cup (175 ml) heavy cream, ¼ cup (30 g) powdered sugar, ½ teaspoon vanilla extract
- Use an electric mixer to stir on low-speed. Gradually increase speed to high and beat until stiff peaks form.
- Spread whipped topping over the center of the pie, or to be more decorative you can transfer to a piping bag fitted with a 2D Wilton piping tip or similar and pipe a decorative ring around the edge of the pie.2 Tablespoons crushed Reese's Pieces for decorating
- Slice, serve, and enjoy! Since this pie is a no-bake one, keep it in the refrigerator or freezer when not enjoying because it loses its firmness quickly at room temperature.
Notes
¹Refrigerator vs Freezer
Refrigerating this pie will give you a creamier, softer consistency (similar to my chocolate pie), while freezing it will give you a firmer, easier to slice one with a consistency that reminds me more of cheesecake. I typically refrigerate as I like the consistency best.Storing
Store well-covered. Pie will keep in the refrigerator for about 5 days or will keep frozen for one month.Nutrition
Nutritional information is based on third-party calculations and should be considered an estimate only. Actual nutritional content will vary based upon brands used, measuring methods, cooking method, portion sizes, and more.
This recipe was originally published 08/10/2017, post updated to include more tips and information and a video! Original photos below.


Arlene
All of her recipes are perfect. Great for serving company.
Virginia Fippinger
The Peanut Butter pie receipe is fab! Before moving from the US we had a Amish resturant famous for Peanut Butter pies, this recipe is spot on! We now live in Mexicos Yucatan. Our Mayan neighbors think this pie is incredible, they love it.
Of course I have shared your website to them. Welcome to Mexico.
Sam
I’m so glad everyone has enjoyed it so much, Virginia! Thank you for spreading the word and I hope everyone else is loving the recipes just as much. 🙂
Tiffany
This pie is absolutely delicious!
I have made the crust with nutter butters and it turned out really well, albeit a bit crumblier than with the Oreos. I figured I’d share for those who have peanut butter fiends in their households.
Sam
I’m so glad you enjoyed it so much, Tiffany! 🙂