You can make bakery-style artisan bread at home! My incredibly easy recipe can rise overnight or the same day. Naturally egg and dairy free! Recipe includes a how-to video.
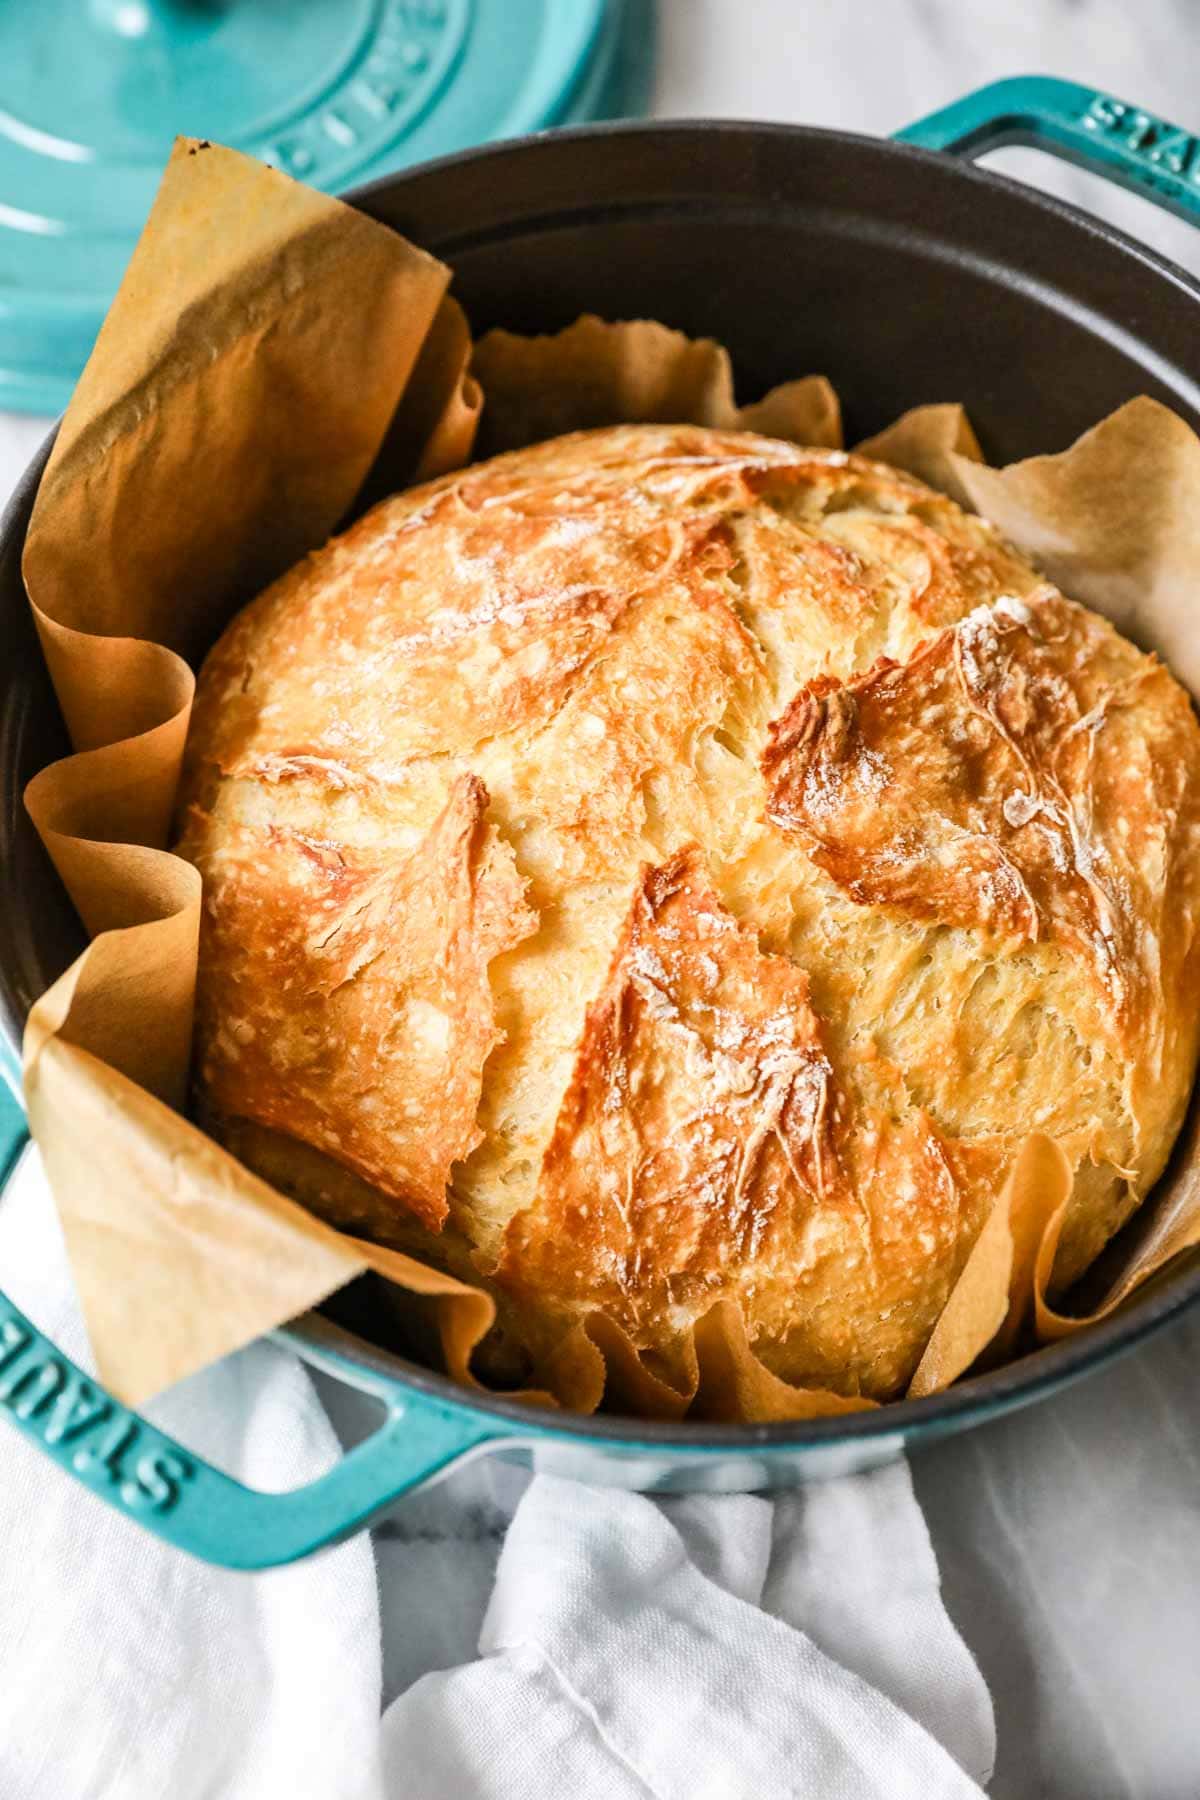
My Favorite Artisan Bread
Today I’m sharing an amazingly simple and EASY recipe for artisan bread. It has the same great flavor and texture we all love about this type of bread, but is incredibly simple to make. I’m talking mere minutes of hands-on time!
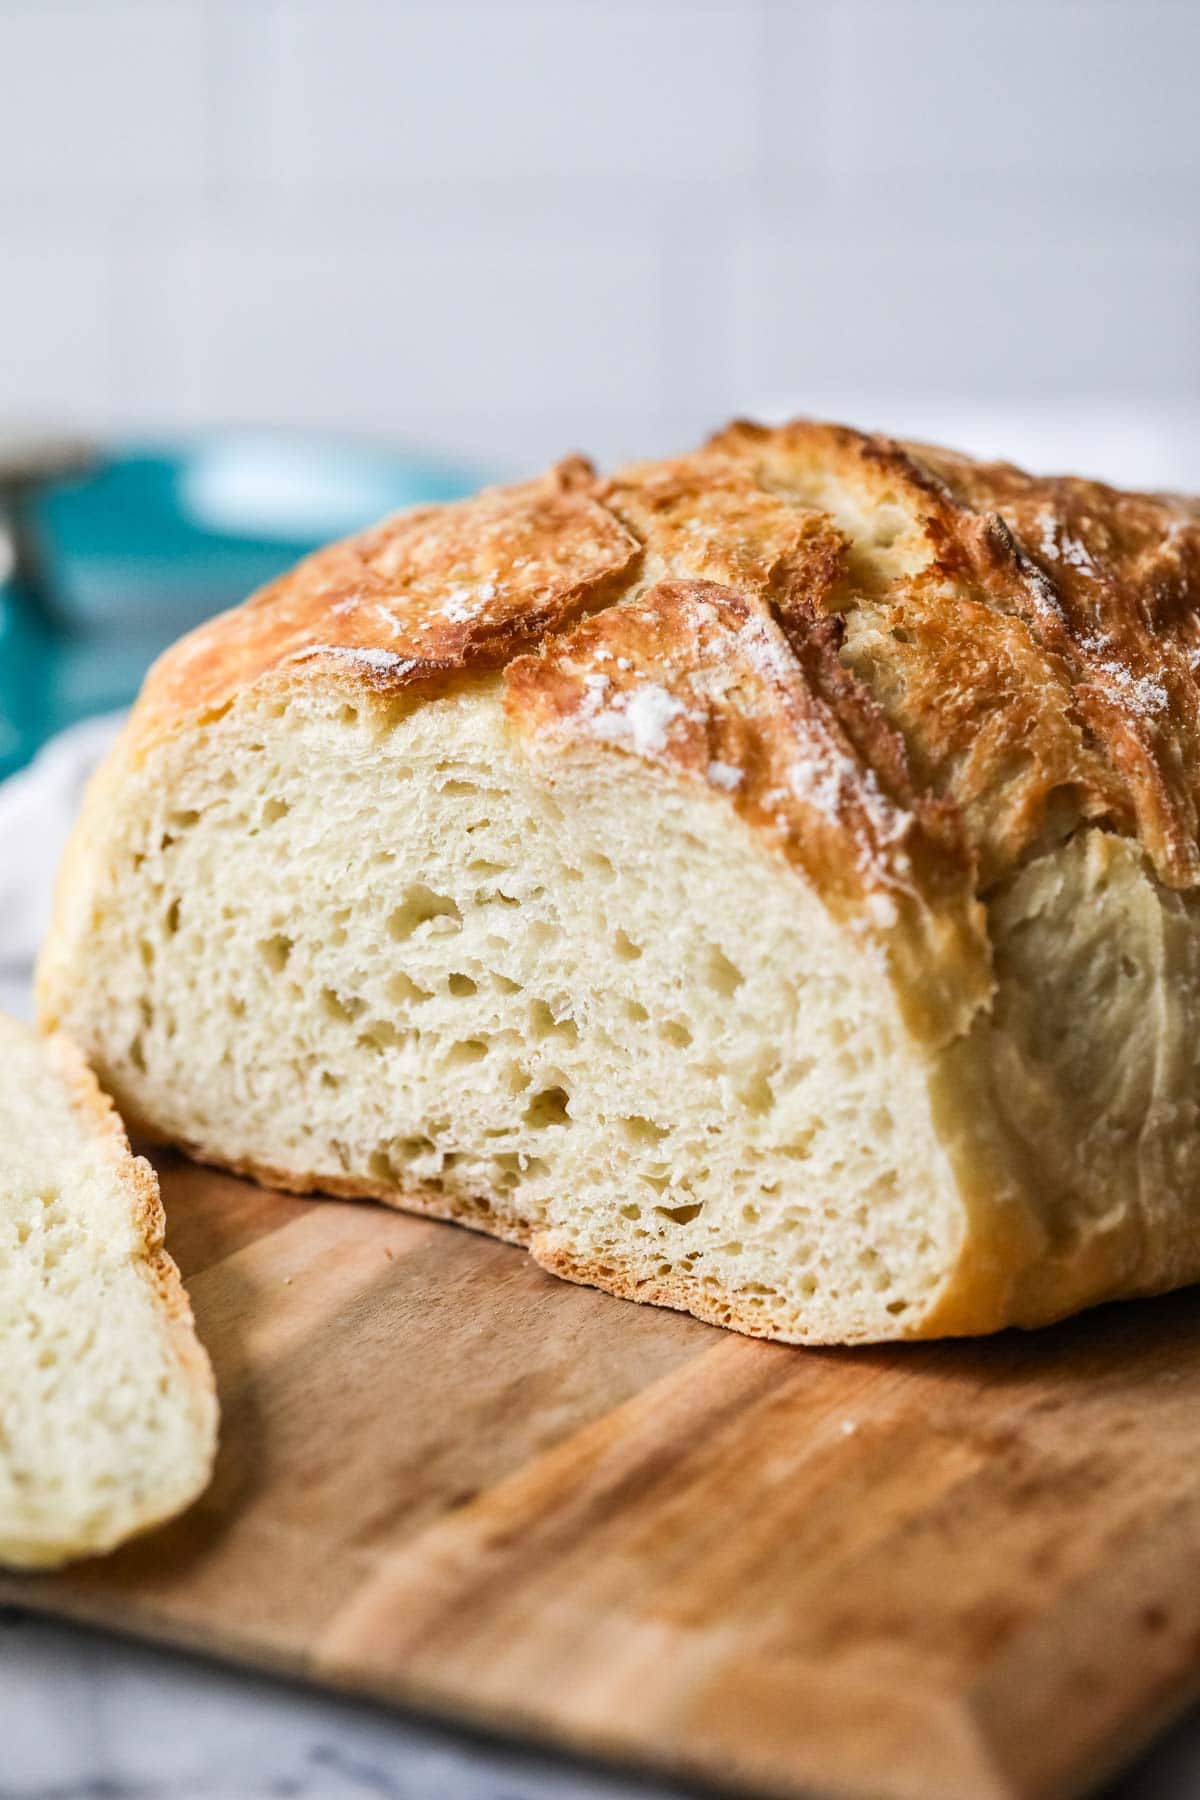
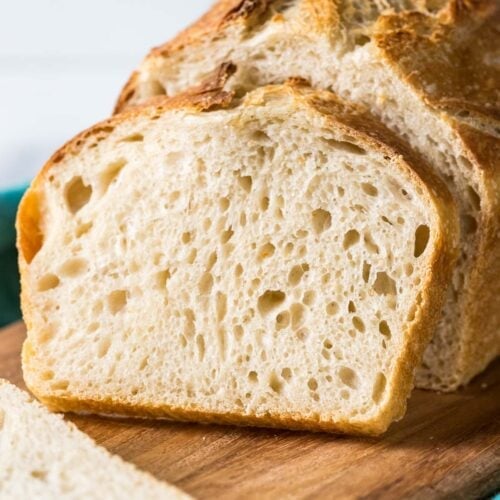
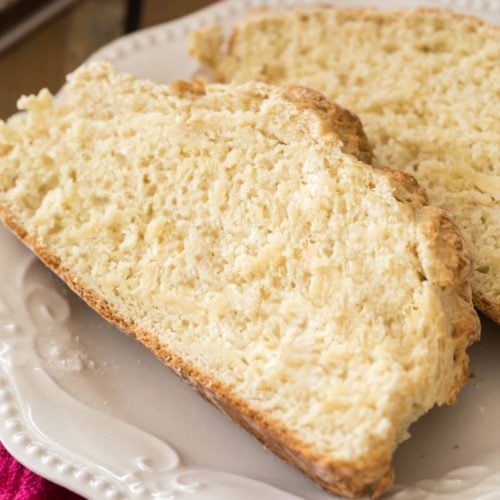
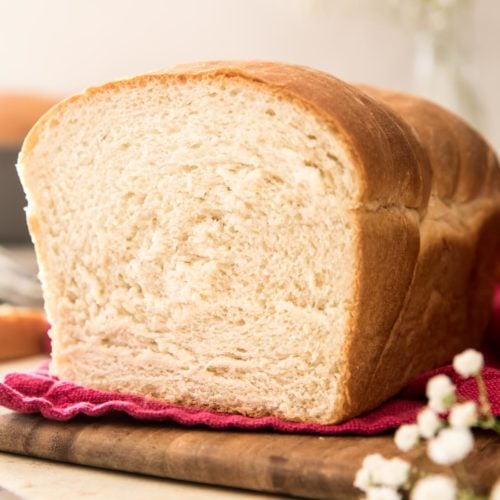
Not to be confused with your average sandwich bread, artisan bread is the rustic and hearty type best saved for dipping in soups (though it tastes great on its own or slathered with honey butter). It has a thick, chewy crust and a soft interior. The crumb is slightly moist and chewy, and it often has large air pockets, especially if you let it ferment overnight in the fridge.
Why You’ll Love This Recipe
- Choice of two preparation methods; either let the dough rise at room temperature for a few hours, or let it rise overnight in the fridge (and you can do this right after preparing–no need to let it rise on the counter first). Some people say the bread tastes better after a night in the fridge, and while I find this to be true for my sourdough bread, I personally don’t feel like it makes a huge difference.
- Pairs well with so many dishes, from beef stew and shepherd’s pie to garlic butter shrimp and broccoli cheddar soup.
- Naturally egg-free and dairy-free, and you can even make it sugar-free if you choose to omit the sugar.
- Bake in a variety of vessels! A Dutch oven is best for baking artisan bread, but I know not everyone has one. To make this recipe accessible to everyone, I included options for baking in different pots/pans in the recipe notes.
And don’t forget–this recipe is EASY! While there’s some substantial time required for the bread to rise, that’s all hands-off and there’s less than a half hour of actual hands-on time required.
What You Need
With so few ingredients (only five!), it’s very important that each one you add be high quality. Here’s what you need to make my homemade artisan bread!
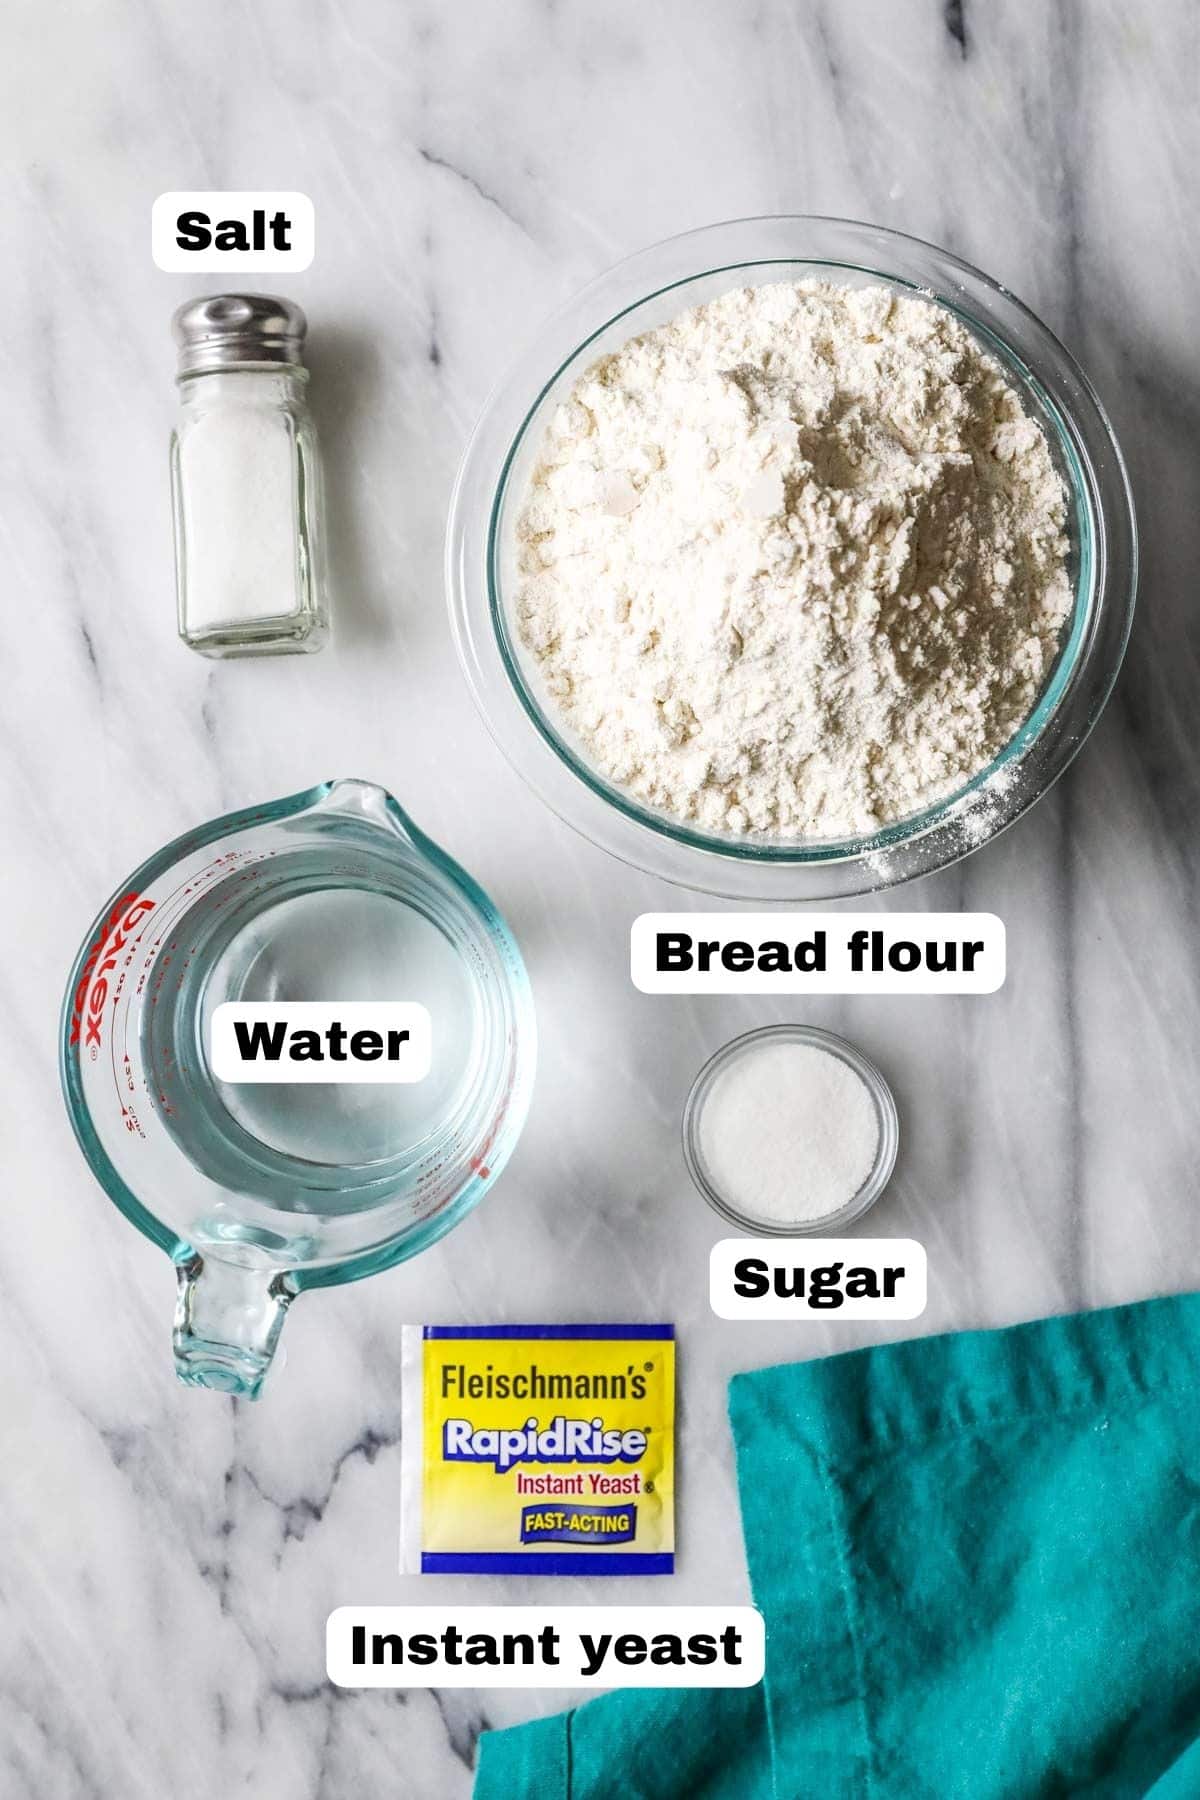
- Bread flour. Using a bread flour will yield a nicer final result, since bread flour contains more protein than regular all-purpose flour. You will need 3 ½ cups for the bread itself, plus more for dusting your work surface. In a pinch, you could substitute an equal amount of all-purpose flour.
- Yeast. Use instant or rapid rise yeast and make sure it’s fresh and not expired before you get started.
- Warm water. Make sure your water is 115F; if it’s too hot, it could kill your yeast, and if it’s too cold, your yeast might not activate.
- Sugar. This is optional and your bread will be fine without it, but I like to add the sugar because it helps the yeast and also adds a slight subtle depth of flavor (but not sweetness) to the bread.
- Salt. For flavor, of course! Regular table salt works just fine here.
SAM’S TIP: It’s very normal if your dough is sticky, as this is a high hydration dough. Don’t be afraid to be generous with the flour on your work surface and on your hands to make the dough easier to handle.
This is just an overview of the ingredients I used and why. For the full recipe please scroll down to the bottom of the post!
How to Make Artisan Bread
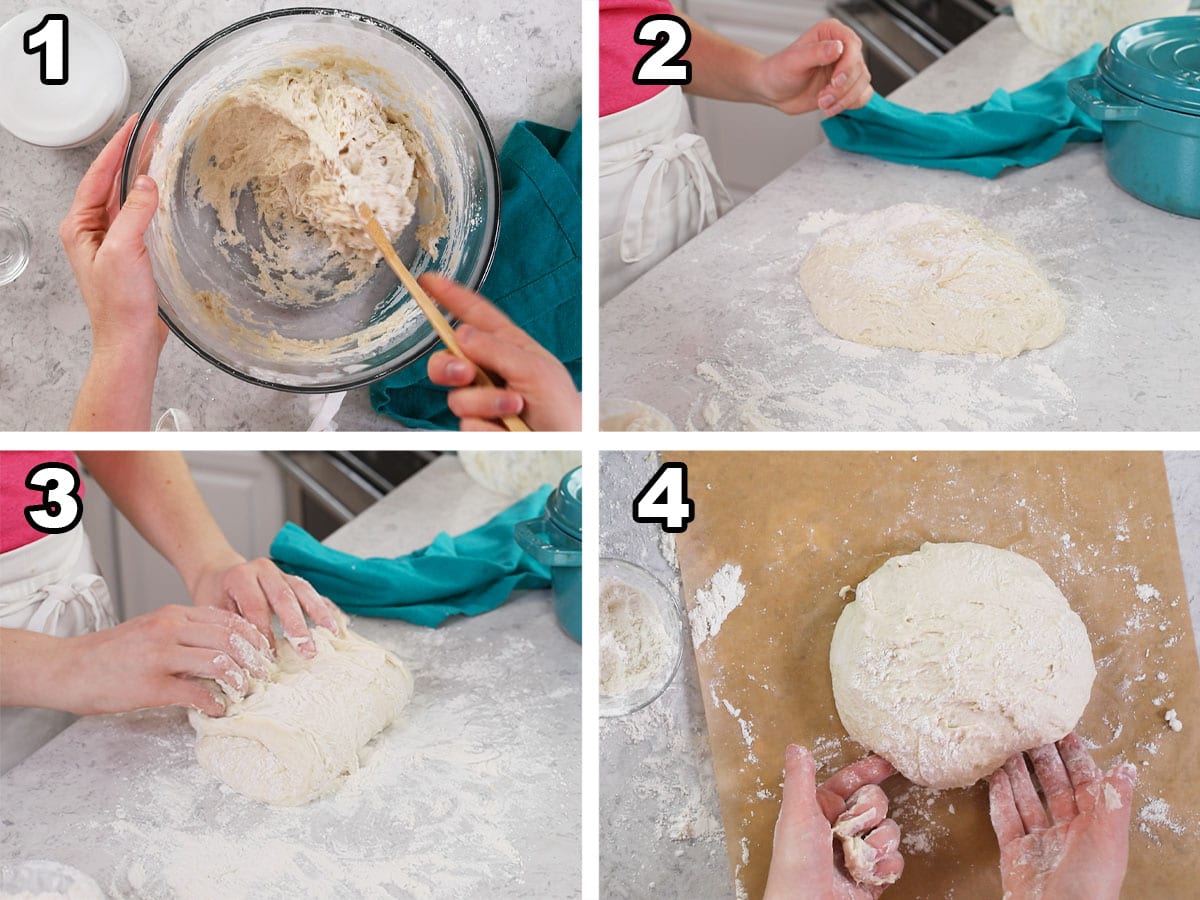
- Whisk the flour, yeast, sugar, and salt together, then stir in the warm water. Mix until everything is combined, then cover with plastic and let rise until doubled in size (or place in the fridge overnight).
- Form the dough into a ball on a generously floured surface. Add as much flour as you need here to make the dough easy to manage–it will be sticky!.
- Stretch and fold: Grab the top of the dough and fold it over the bottom, then turn the dough 90 degrees and repeat. Do this a total of four times. I demonstrate this in the video below if you need a visual!
- Form the dough onto a ball (you want it nice and round, the taller it is here the taller your loaf will be), then place in the center of a large piece of parchment paper. We will use this as a sling to transfer our dough to our pan. Cover the dough with plastic wrap and let sit while your oven preheats.
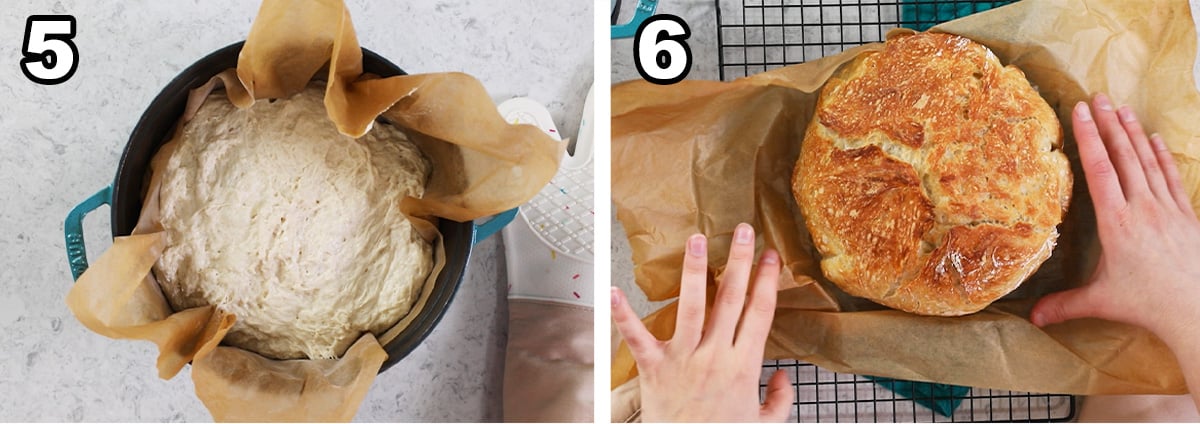
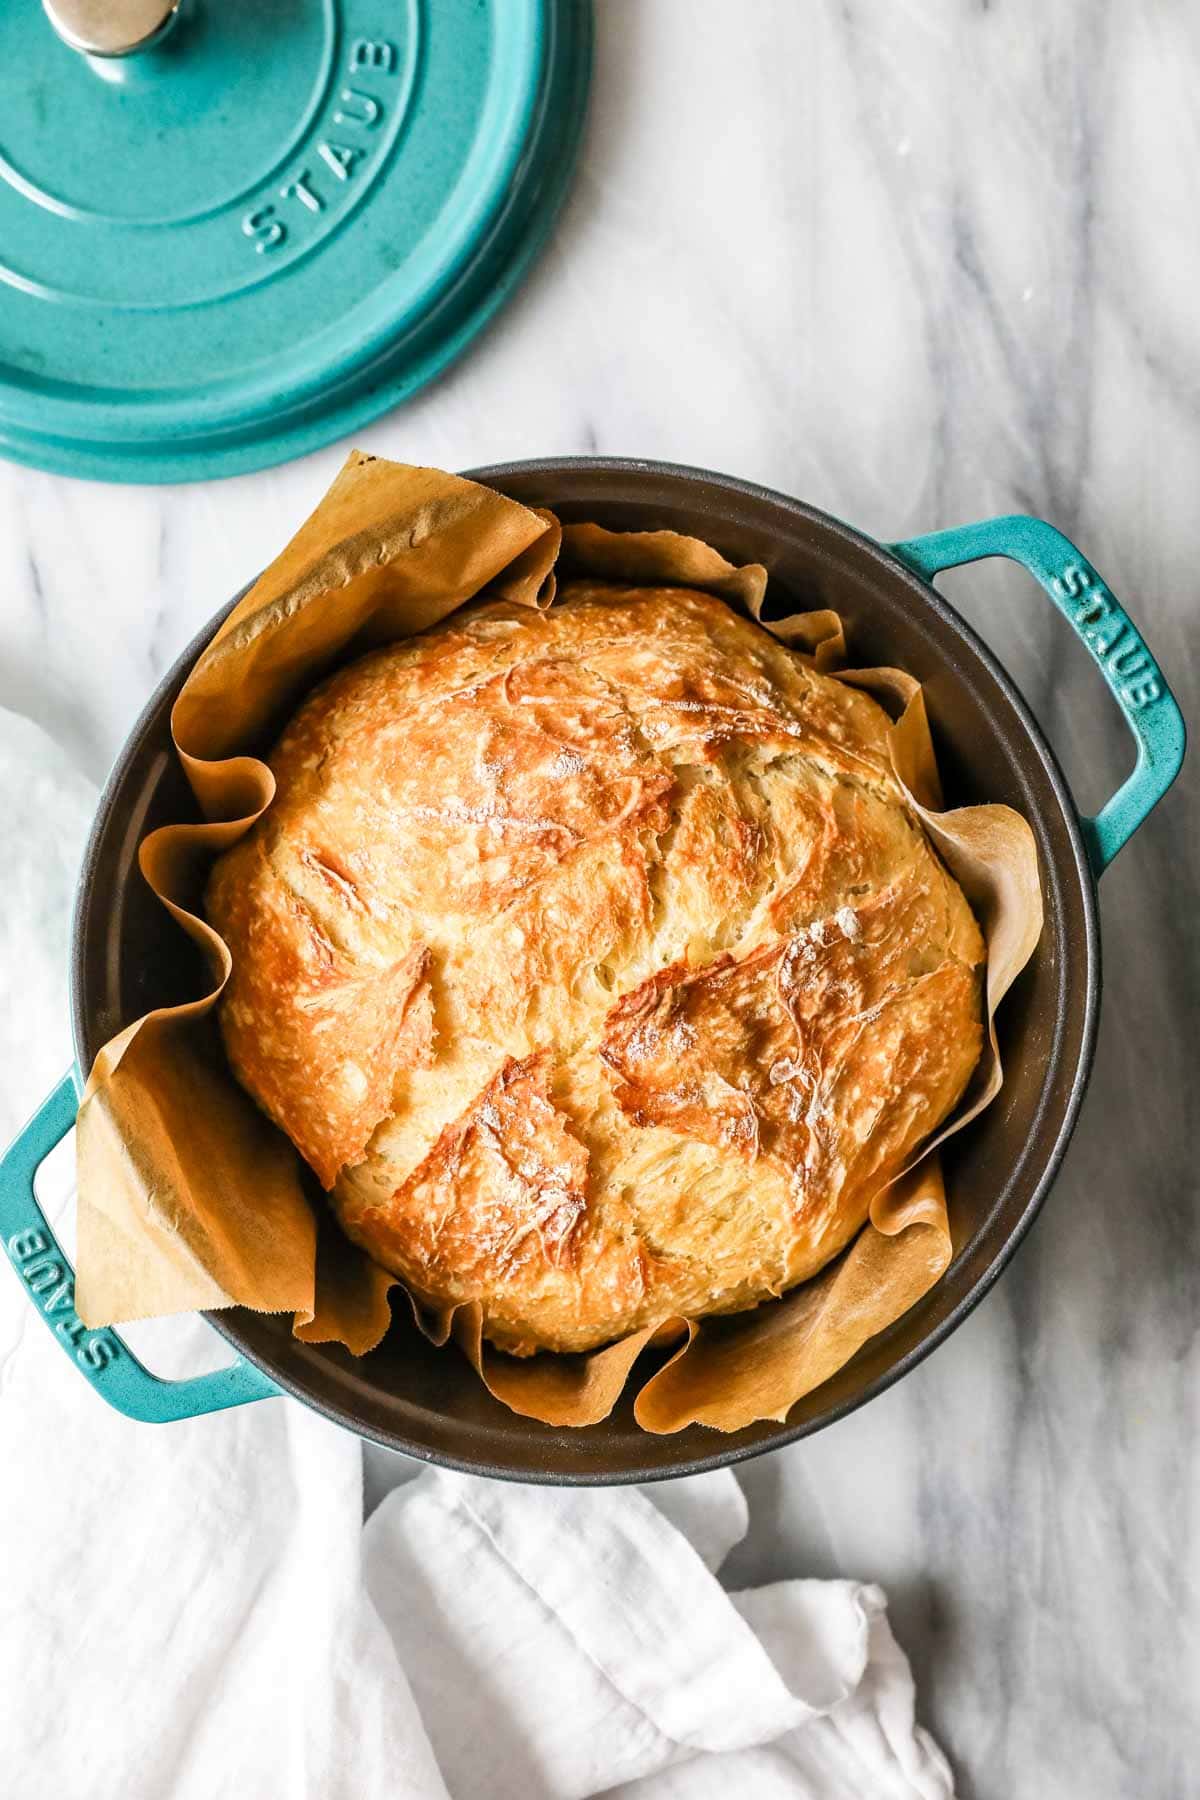
- Lower your bread into your pan using the parchment sling. Bake for 30 minutes covered, then remove the cover and bake for an additional 10 minutes.
- Let the bread cool in its pan for 10 minutes, then carefully remove to a cooling rack to cool completely.
SAM’S TIP: If you are using one, place your dutch oven in your oven while it preheats. This will create an ideal baking environment for your bread. Note that you need to be careful handling the pot and lid after it comes out of the oven–it will be very hot!
Frequently Asked Questions
Yes! While a dutch oven is ideal, you can bake artisan bread in a loaf pan if that’s what you have on hand. I provide instructions for how to bake in a 9×5″ bread pan or on a cookie sheet in the recipe notes below.
Note that I do recommend having two 9×5 loaf pans so you can use one as a lid. Tented foil can also work if you don’t have two pans.
Yes! Make sure to let it cool completely, then wrap it really well and place in a freezer safe bag or container. I recommend enjoying your artisan bread within 3-6 months for best flavor. You can also slice the bread before freezing it to easily defrost one slice at a time (if I do this I usually individually wrap each slice to help ward off freezer burn).
To thaw, let the bread sit on the counter for a few hours to thaw, or toast individual slices in the toaster. You can also warm up in a 350F preheated oven for a few (about ten) minutes.
Unlike many store-bought breads, homemade artisan bread doesn’t include any processed ingredients or preservatives. So yes, you could say it is a healthier option!
What other bread recipes would you like to see this year? Let me know in the comments below!
Enjoy!
Let’s bake together! Subscribe to my newsletter to be notified of all the newest recipes, and find my free recipe tutorials on YouTube 💜
Artisan Bread
Ingredients
- 3 ½ cups (437 g) bread flour plus more if needed
- 2 ¼ teaspoons (7 g) instant yeast
- 1 Tablespoon (12 g) granulated sugar optional
- 1 ½ teaspoons (10 g) salt
- 1 ½ cups (360 ml) warm water 115F/46C
Recommended Equipment
Instructions
- In a large mixing bowl, whisk together flour, yeast, sugar, and salt.3 ½ cups (437 g) bread flour, 2 ¼ teaspoons (7 g) instant yeast, 1 Tablespoon (12 g) granulated sugar, 1 ½ teaspoons (10 g) salt
- Add warm water and stir until combined. Dough will be sticky.1 ½ cups (360 ml) warm water
- Cover bowl with plastic wrap and place in a warm place to rise until doubled in volume, usually 2-3 hours. Alternatively, cover dough and refrigerate overnight (no need for it to rise first, pop it right in the fridge).
- When dough has risen, scrape out onto a generously floured surface and form into a ball with your hands. If the dough is too sticky to handle, sprinkle a light amount of flour over the surface, adding more as needed to handle/shape the dough.
- Stretch and fold: Grasp the dough at the top (think 12 o’clock, if the dough were a clock face) and stretch it over the bottom (6 o’clock). Turn the dough 90 degrees and repeat. Repeat this step two more times for a total of 4 stretch and folds. I demonstrate this in the photos above and in the video, if a visual helps!
- Use your hands to form the dough into a ball again (don't be afraid to shape it, you want it to be more round than flat!), place on a large piece of parchment paper (the parchment should be large enough that you can lift it up and lower it into a Dutch oven), and lightly cover with plastic wrap.
- Allow dough to rest, covered, for 30 minutes. As it rests, preheat oven to 450F (230C) and place a 4qt Dutch oven (with lid) in the center rack of your oven.
- After 30 minutes, carefully remove Dutch oven from the oven. Score your bread down the middle, remove the lid off of the Dutch oven, and gently lower the parchment paper and bread into the pot. Place lid on top, and return to 450F (230C) oven.
- Bake for 30 minutes with the lid on, then remove lid and allow to bake for another 10 minutes. I like to check the internal temperature of my bread with an instant read thermometer to be sure it's finished baking, look for an internal temperature of 195-200F (90-93C) in the thickest part of the bread.
- Remove from oven and allow to cool in Dutch oven for 10 minutes, then use the parchment paper to carefully lift the loaf from the pot and transfer to a cooling rack to cool completely before slicing. Do let the bread cool until no longer warm to the touch or the interior will be gummy.
Notes
Baking in different dishes:
A 4 qt Dutch oven works best for this recipe, but you do have some other options that will work, too: 9×5” bread pan: After the “stretch and fold” process, gently roll dough into a loaf shape, tucking the ends under. Place in a greased bread pan and let sit, covered, for 30 minutes while oven preheats. After 30 minutes, score bread, cover pan with an inverted loaf pan (or tent with foil) and bake in 450F (230C) oven for 20 minutes, then remove the “lid” and bake another 10 minutes. Bake on a cookie sheet: After dough has risen, (step 3) scrape onto a generously floured surface and divide into two pieces. Form each into a ball, and follow the “stretch & fold” instructions in the recipe for each. Place on parchment paper lined cookie sheet, cover lightly with plastic wrap, and sit for 30 minutes while oven preheats (space the dough as it will increase in size). After rising, score each loaf and bake in 450F (230C) oven for 17-20 minutes. Larger Dutch oven: Baking time will likely be reduced and bread will be flatter.Flour
An equal amount of all-purpose flour could be substituted in a pinch.Storing
Wrap tightly or store in an airtight container for up to 5 days. Bread may also be tightly wrapped (or sliced and individual slices wrapped) and frozen for several months. To thaw, let sit at room temperature for several hours or toast individual slices. Whole loaves may also be rewarmed in 350F/175C oven for several minutes.Nutrition
Nutritional information is based on third-party calculations and should be considered an estimate only. Actual nutritional content will vary based upon brands used, measuring methods, cooking method, portion sizes, and more.


Lillian
I’m wondering if I can make focaccia from this dough. Maybe bake it in a casserole dish with olive oil and Italian spices on top and of course some olive oil on the bottom so it wont stick. What temperature would you suggest?
Sam
Hi Lillian! Unfortunately I haven’t experimented with it to say for sure. Please let me know how it goes if you do try it. 🙂
Jessica
I made this over the weekend and it was just delicious, and so easy! I chose the overnight rise in the fridge. I wasn’t convinced when I took the dough out of the refrigerator that it would work because it didn’t seem like it had risen much at all, but once I shaped it and let it sit for 30 minutes I could tell the dough was relaxing. I only have a 6-quart dutch oven, but the recipe worked quite well in it and the loaf was still nice and tall. I followed the baking instructions exactly, but next time I probably would leave the lid on for an extra 5 minutes of baking time. Thanks for another great recipe!
Sam
I’m so glad you enjoyed it so much, Jessica! 🙂
mike
you gave two different temperatures for this artisean bread which is it 450 or 350
Sam
450 🙂
Shsron
Loved this bread so easy to make. Do you think this would work for a hearty sub roll?
Sam
Hi Sharon! It has a really nice crisp to the outside, which is not what I typically think of a sub roll. It would be really hearty, but you could make it as a sub roll if you’d like. 🙂
Bronte
I just made this bread and it is amazing! I always love your recipes! Every time I want to make something I always check if you have a recipe for it first. For real, I make your tomato soup almost every week. Will definitely make this again! I didn’t put it in the fridge, just let it rise on the counter and it tasted amazing.
Sam
I’m so glad you enjoyed it so much, Bronte! 🙂
Sabrina
The only problem I had was making it last! I thought that it would be able to be eaten all week. Don’t plan on that! My family devoured almost the entire loaf with the soup I served in one night. Best and easiest bread ever!!
Sam
I’m so glad everyone enjoyed it so much, Sabrina! 🙂
Lynnette
This bread is the easiest and tastiest bread. Thank you for posting. My family loved it.
Sam
I’m so happy to hear this, Lynnette, thank you for trying my recipe!
Steve
The first loaf I made was gone within hours! The second one is proofing now. This bread makes incredible toast, too. Thanks for the recipe!
Sam
I’m so glad you enjoyed it so much, Steve! 🙂
Karen
Thank you for this recipe. It was so easy to make and the bread is delicious! I don’t have a Dutch oven yet so I baked it in a loaf pan and my husband and I both enjoyed it with our dinner.
Emily @ Sugar Spun Run
We’re so happy you liked the bread, Karen! Enjoy 🙂
Miriam Rose Blanar
This is the best artisian bread I have ever had! I made it in a loaf pan and waited very impatiently for it to cool down and when it did, I slathered some butter on it and I think my eye rolled to the back of my head because it was so delicious. And addicting!! A keeper for sure.
Carolee
Good afternoon Sam:
I can’t wait to try this recipe. I was wondering if this could be baked in the porcelain bowl of a crock pot, baked in the oven, of course. I would think it could still be pre-heated as you suggested.
Sam
Hi Carolee! I haven’t tried it, but as long as your crock pot bowl will hold up in the oven, I think it could work. I would just double check to make sure it is oven safe. 🙂
Leslie
I have never made bread because I feel clueless about it, but I made this to accompany my husband’s birthday dinner tonight (your salisbury steak recipe btw!) and it came out PERFECT. SO easy and it makes me look like a much fancier baker than I am. This is a must-do for anyone who wants to try their hand at bread!
Sam
I’m so glad you enjoyed it so much, Leslie! 🙂
Sally
Another home run, and super easy for a bread recipe! Love everything you make!!!!!
Emily @ Sugar Spun Run
We’re so happy you enjoyed this one too, Sally! Thanks so much for the review 🥰
Daphne
If I am baking it in a 5.5 quart dutch oven, how much time would you recommend reducing it by? How do I tell when it is done baking? I’ve got the dough proofing in my oven right now, and I am so excited to have some homemade bread for dinner tonight!
Sam
Hi Daphne! I’d probably do 25 minutes covered then 10 minutes uncovered and then check the internal temperature with an instant read/meat thermometer. Look for an internal temperature of 195-200F (90-93C) This is the best way to tell if bread is finished baking, and I’m going to add this to the recipe card as well. I hope you love the bread!
Meribeth
Wow, just Wow!! So pillowy soft…..and so easy!! Compared to making the sourdough bread recipe it almost feels like magic. My dough was not sticky at all. I did the overnight refrigerated version, I’m unsure if this is why it wasn’t sticky. I weigh my ingredients and followed recipe exactly. So delicious with your potato soup recipe. Thank you!!
Sam
Hi Meribeth! I’ve found yeast doughs can occasionally behave quite differently from kitchen to kitchen, what’s sticky in one kitchen may not be quite so much in another, or even stickier in a third kitchen. I’m so glad it turned out so wonderfully!
Ken brattn
Excellent Bread
Sam
Thank you, Ken! So glad you enjoyed!
Anneke
Hi Sam,
Can I use spelt flour to make this bread? Thank you.
Sam
Hi Anneke! To be honest I have never tried it, but I think it could work. Spelt flour does have a lower gluten content so might not rise and much and may be a little dense and could potentially be a bit drier. You may need to adjust flour and or water to get to the proper consistency for the dough. 🙂