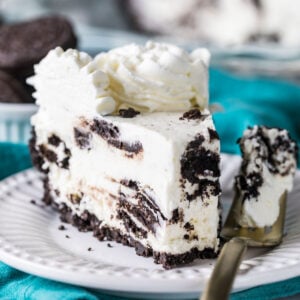
Light, creamy, and loaded with cookie pieces, my Oreo Pie recipe yields a simple and oh-so-tasty, no-bake recipe. This pie comes together quickly and can be prepped in just 15 minutes. Recipe includes a how-to video!
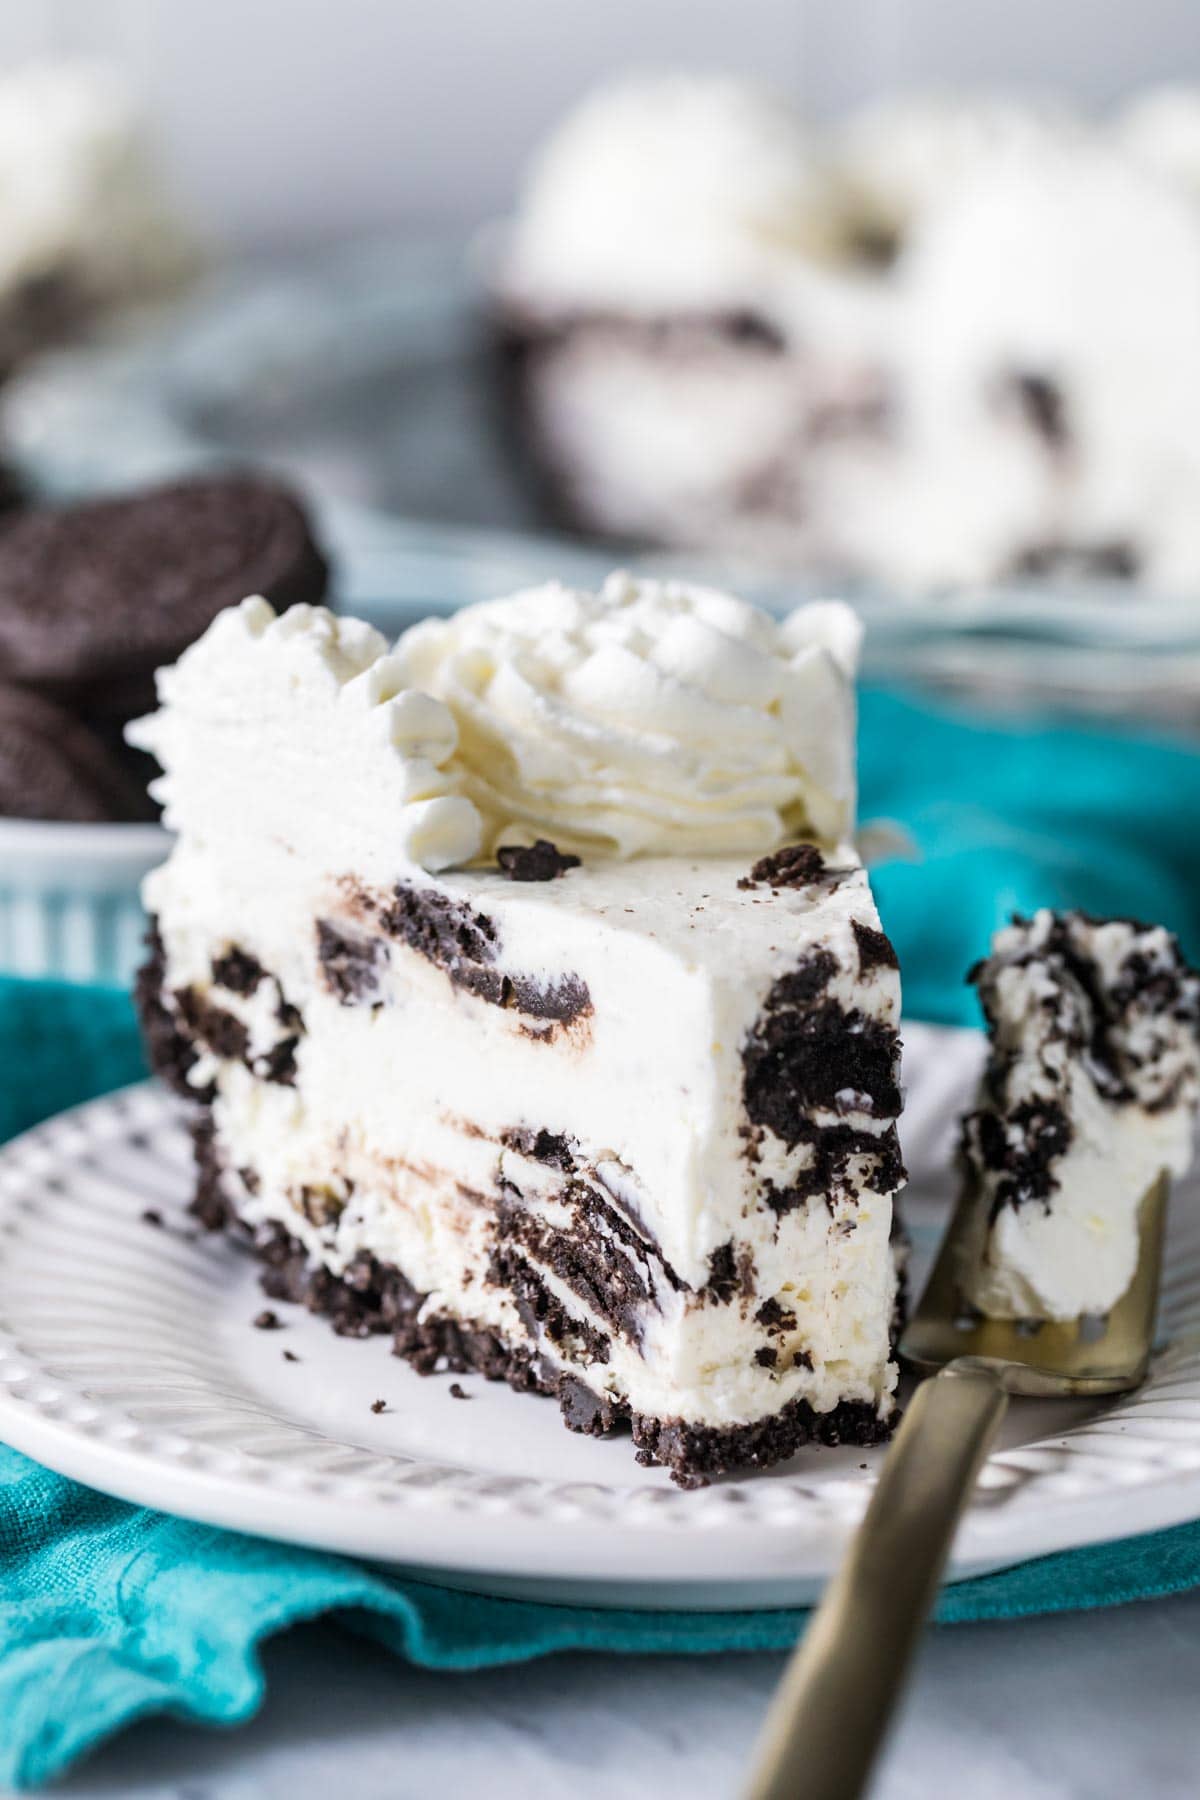
No-Bake Oreo Pie Without Cool Whip
After a swell of hot days this early spring, I re-remembered how nice it is to have the option to whip up something sweet without turning on the oven. This Oreo pie is one of those recipes that’s every bit as filling, tasty, and well-rounded as its baked dessert counterparts, but it’s just much easier to make, and no 350-degree oven warming up your kitchen.
This recipe is adapted from my well-loved no-bake cheesecake and is served over a crisp, easy Oreo crust. Just 15 minutes of prep (you don’t even have to separate the Oreos from the cream with this one!), and it’s ready to go in the fridge (or, if you want things extra-frosty, the freezer)!
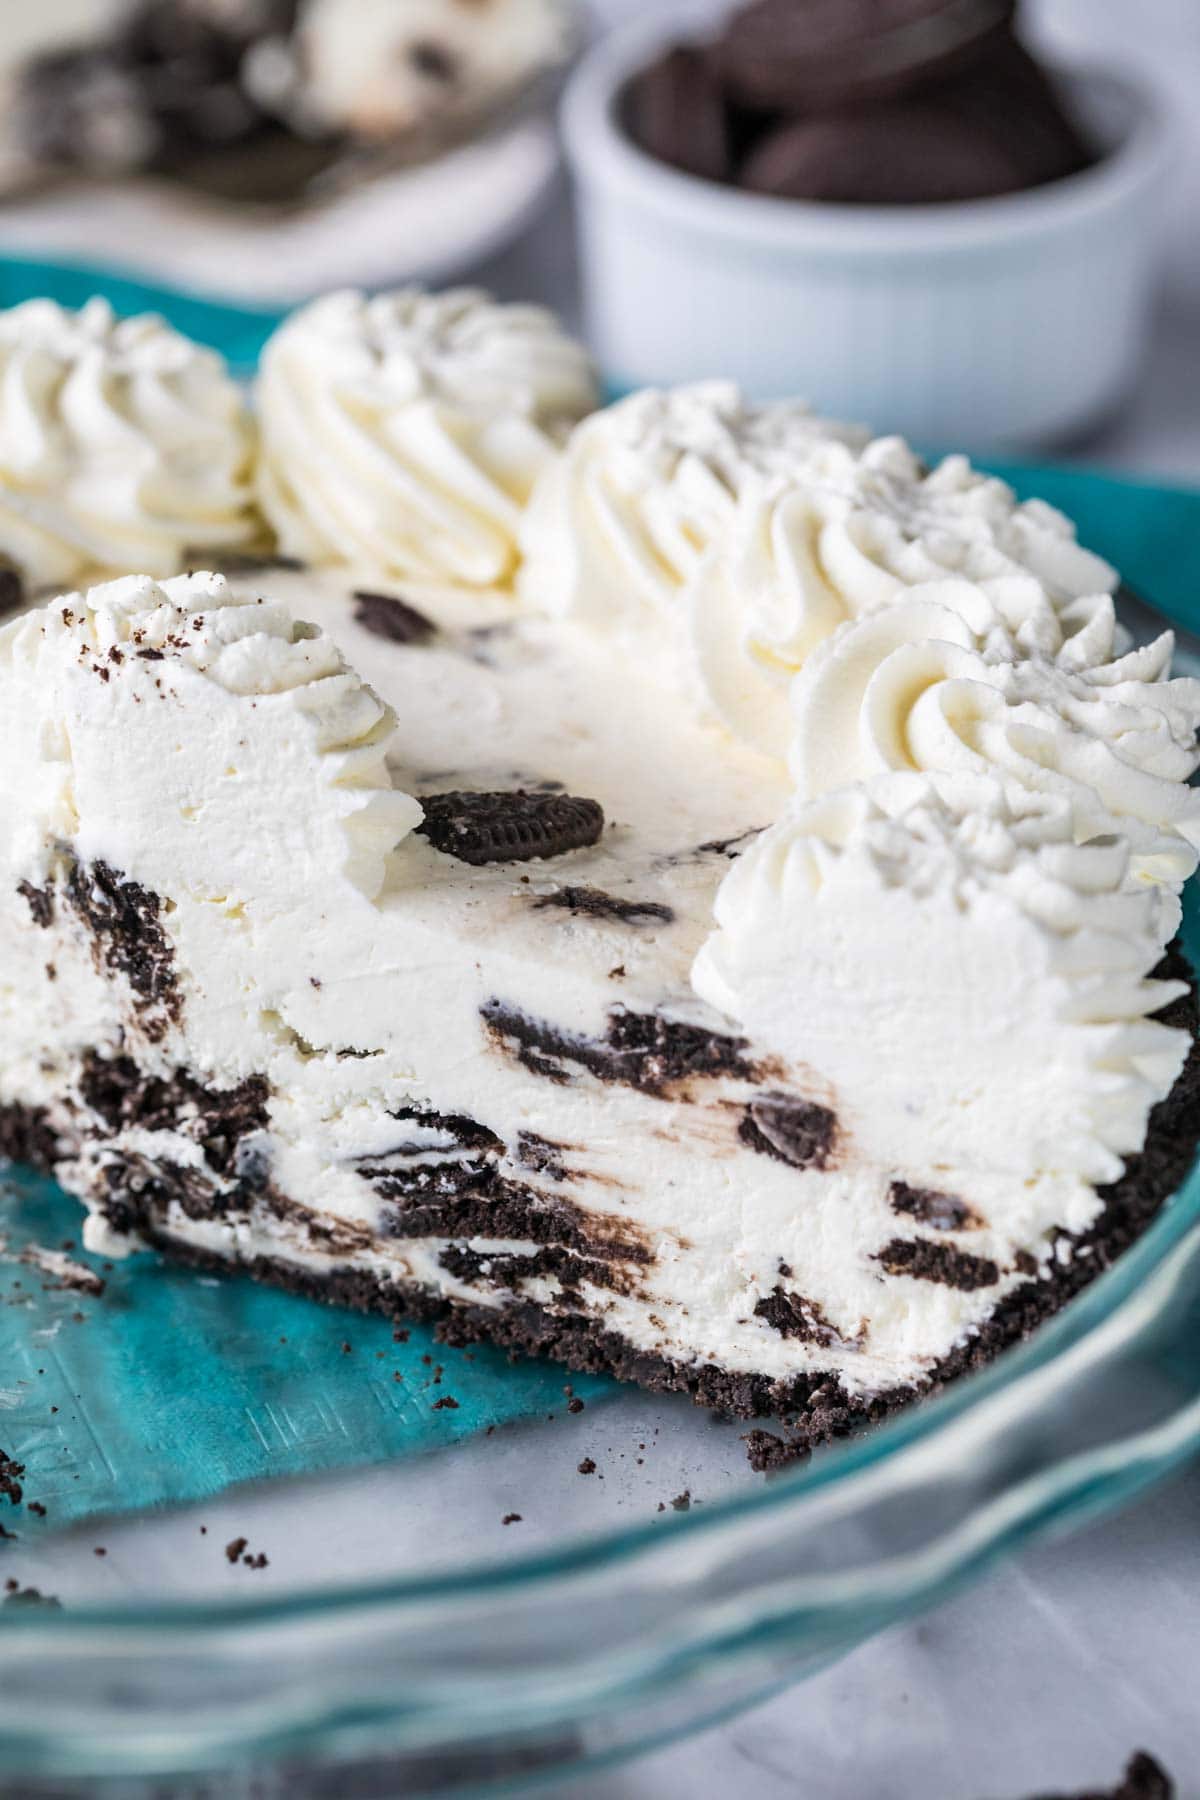
Oreo pie is not too sweet, making it perfect for those who prefer their desserts on the less-cloying side (also making it perfect for summer when you don’t want anything too heavy).
Using homemade whipped cream (rather that stuff in the blue plastic tub) means we get a more pure, fresh flavor and a melt-in-your-mouth lightness (and without too much artificial taste — we get enough of that from the Oreos 😉). Contrasted against a crisp cookie crust, it’s a dreamy combination.
Why you should try it:
- Less than 10 ingredients required.
- No-bake: perfect for hot summer days!
- Only 15 minutes to prep.
- Customizable: use your favorite Oreo flavor.
- Perfect for your holiday dessert table.
What You Need
Just 7 ingredients are needed for my Oreo pie recipe. Here’s what you need.
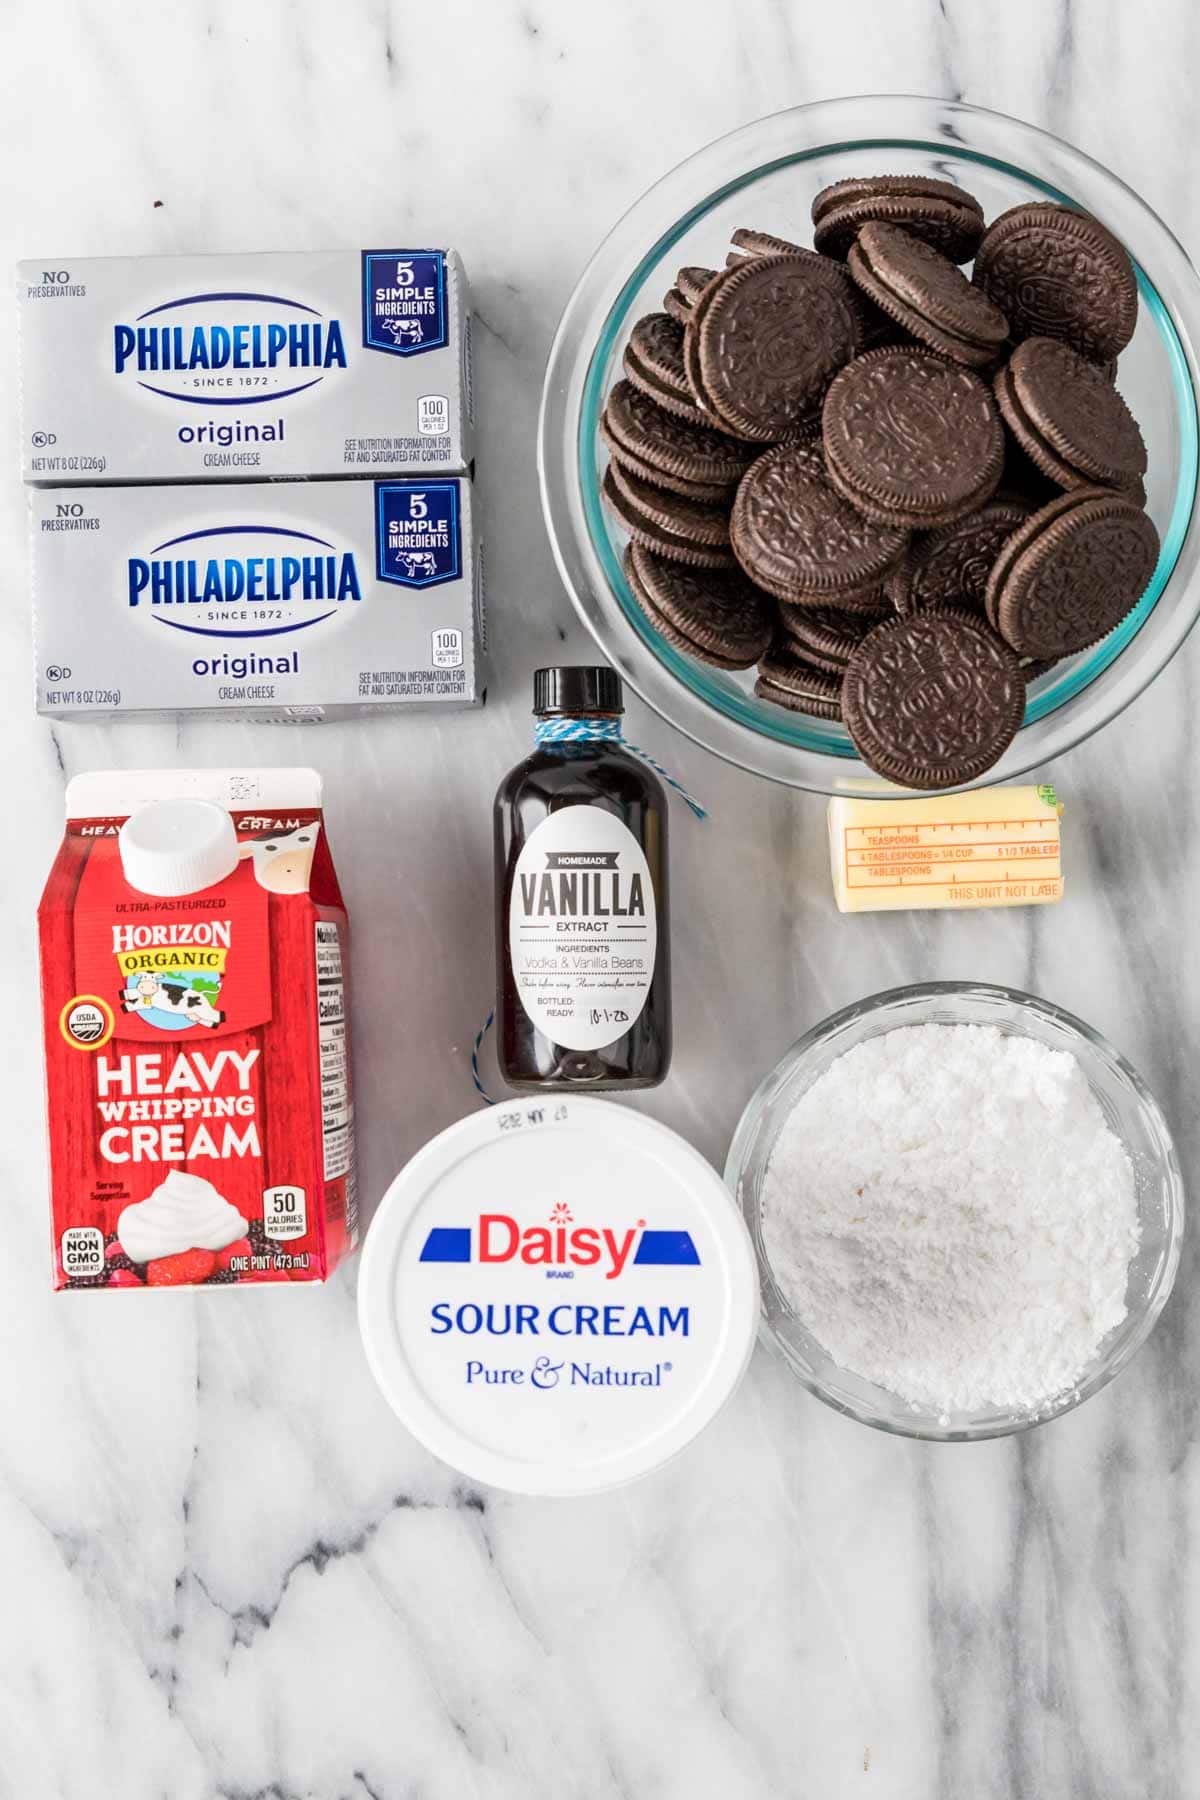
- Cream cheese + sour cream. This tangy duo is a must in all of my cheesecake recipes. These ingredients not only lend themselves to the sturdiness (cream cheese) and creaminess (sour cream and cream cheese together) of the pie, but they also counter the sweetness of the sugar, making this a not-too-sweet dessert option. Make sure to use full-fat, brick style cream cheese; the spreadable kind sold in tubs just won’t set up properly.
- Oreos. Use regular or “double stuf” Oreos and there’s no need to remove the filling (for either the crust or the pie filling).
- Heavy cream. Double cream or whipping cream will also work here. Note that if you use organic (as I used in the photos) it doesn’t whip up to be quite as fluffy as non-organic.
- Butter. Just a bit to form the crust. You can use either salted or unsalted butter here–either work fine.
- Vanilla. Feel free to use homemade vanilla extract if you have some on hand!
SAM’S TIP: Want to switch up your Oreo flavor? Go for it! Peanut butter Oreos or mint Oreos would be my first choices, but feel free to experiment with your favorite flavor (and let me know how it turns out!).
Remember, this is just an overview of the ingredients I used and why. For the full recipe please scroll down to the bottom of the post!
How to Make Oreo Pie
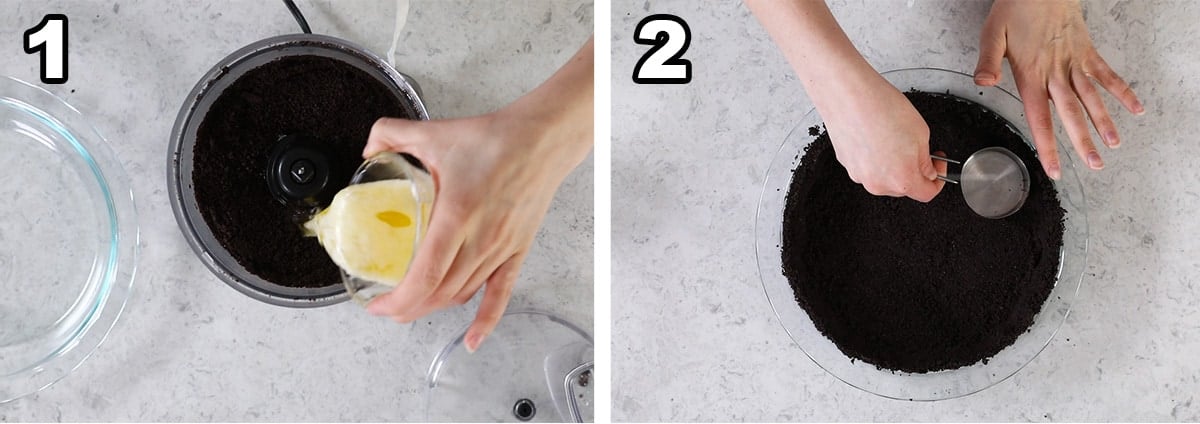
- Pulse the Oreos to fine crumbs and add melted butter. Toss everything together until the crumbs are well-coated.
- Firmly press the crumbs into a 9.5″ pie plate to form a crust. Set this in the fridge to chill while you prepare your filling.
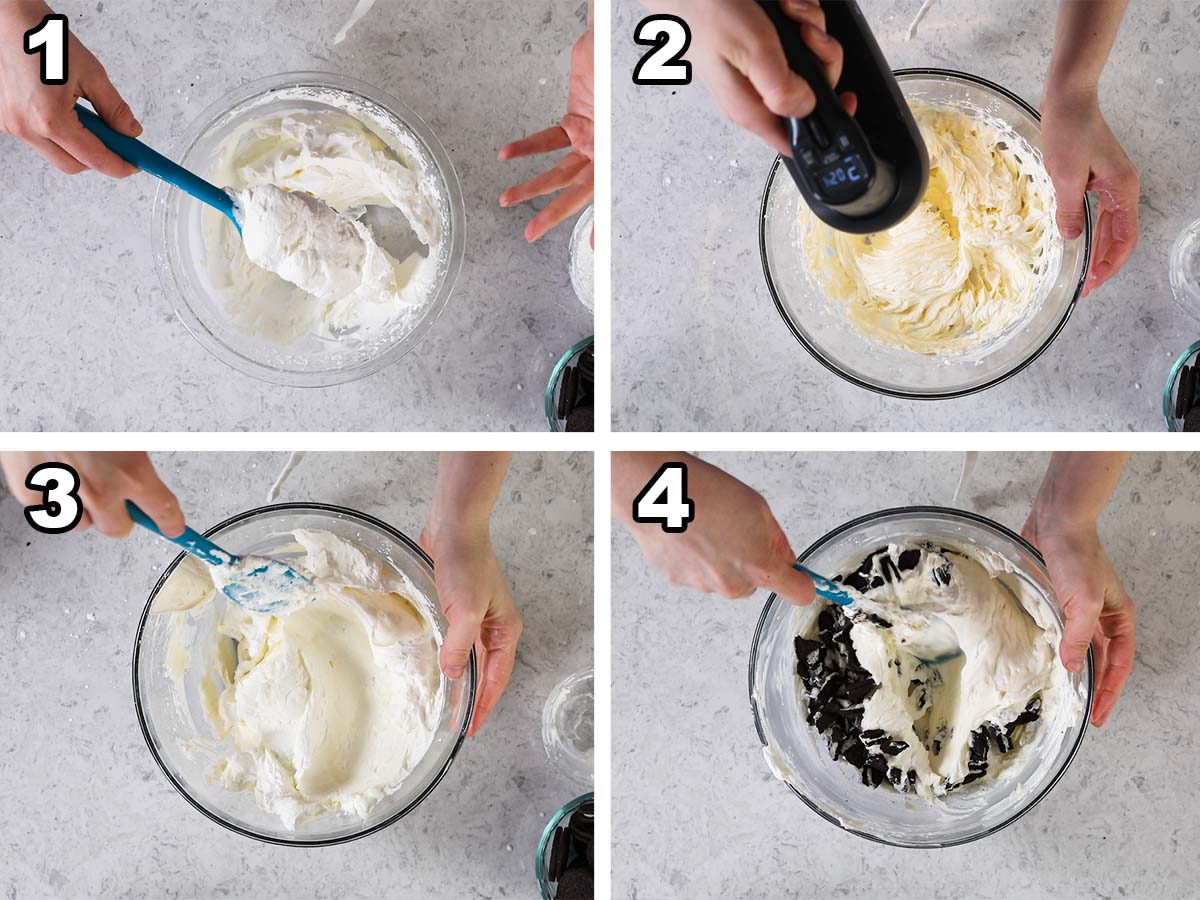
- Make the whipped cream: Whip the heavy cream and half the powdered sugar to stiff peaks, then set aside.
- Combine the cream cheese, remaining sugar, sour cream, and vanilla until smooth. It’s important that your cream cheese be room temperature before you use it, otherwise it tends to stay pretty lumpy and you may have lumps in your pie.
- Fold together the whipped cream and cream cheese mixture until uniform. Be gentle with this step and use a spatula (not an electric mixer), as we don’t want to deflate our whipped cream.
- Gently fold in the broken Oreo pieces so they are evenly distributed. Again, do this part by hand!
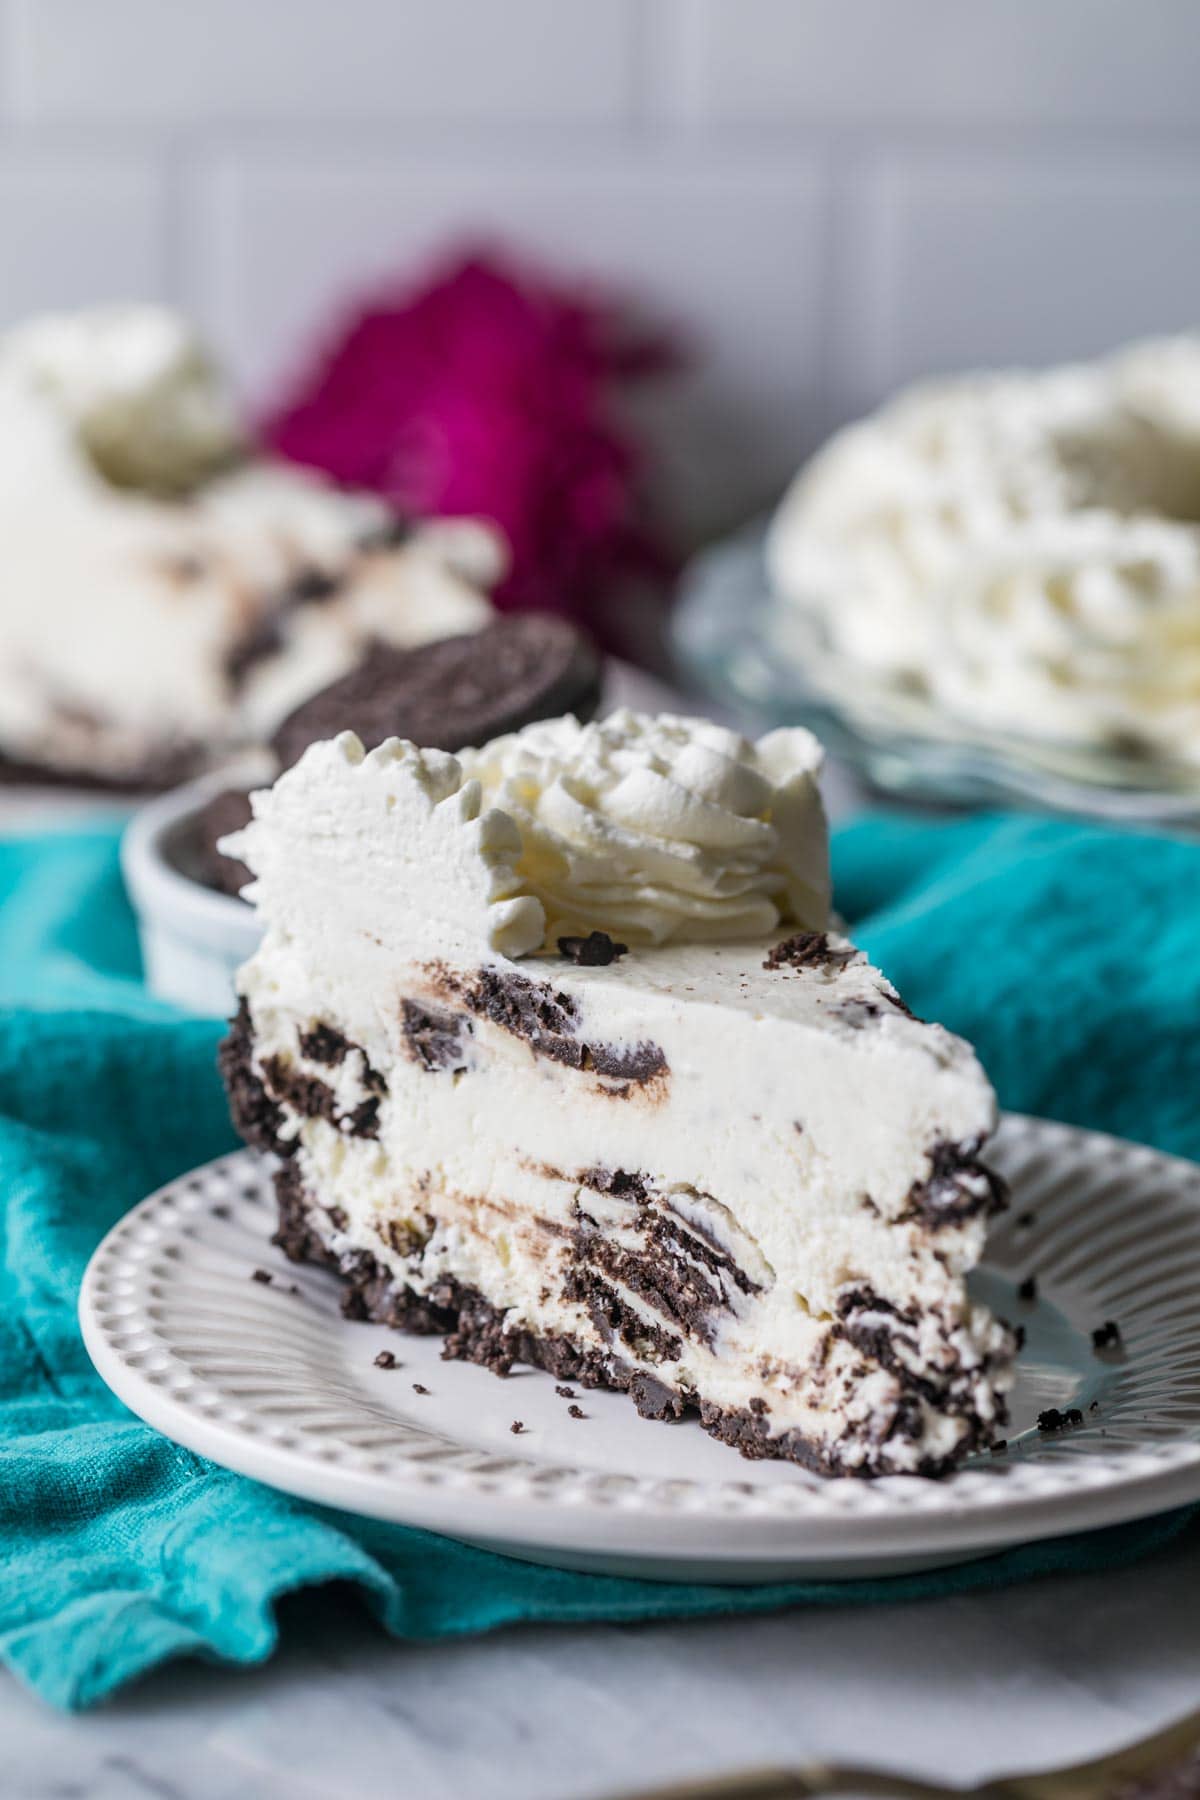
SAM’S TIP: Want your pie to be pure white like in my photos? Place your broken Oreo pieces in a strainer and give it a good shake before adding them! This will let all the tiny cookie crumbs fall out, giving you a crisp white pie filling (as opposed to a gray filling, which is still just as tasty).
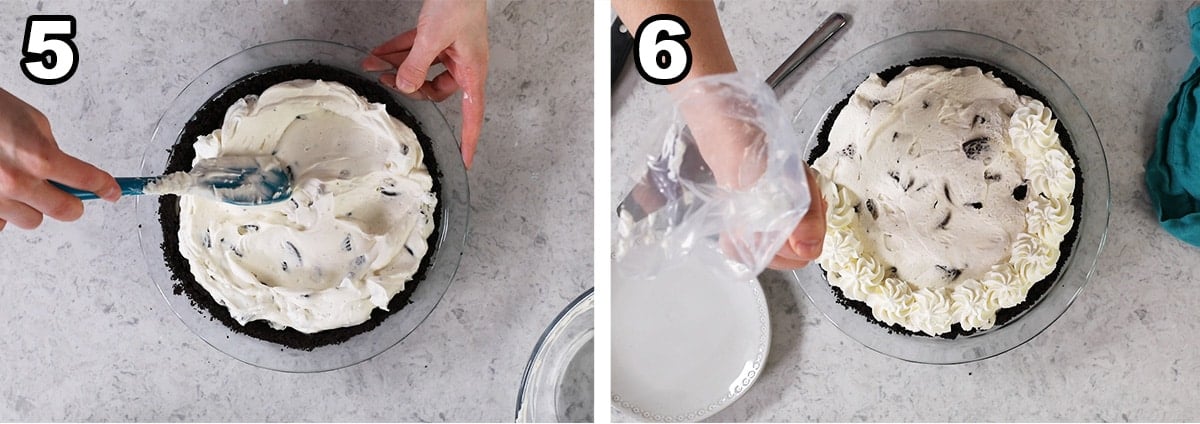
- Pour into prepared Oreo crust and use a spatula to smooth the top. Cover with plastic wrap and let chill in the fridge for at least 6 hours, preferably overnight. For a firmer cheesecake, you can freeze instead.
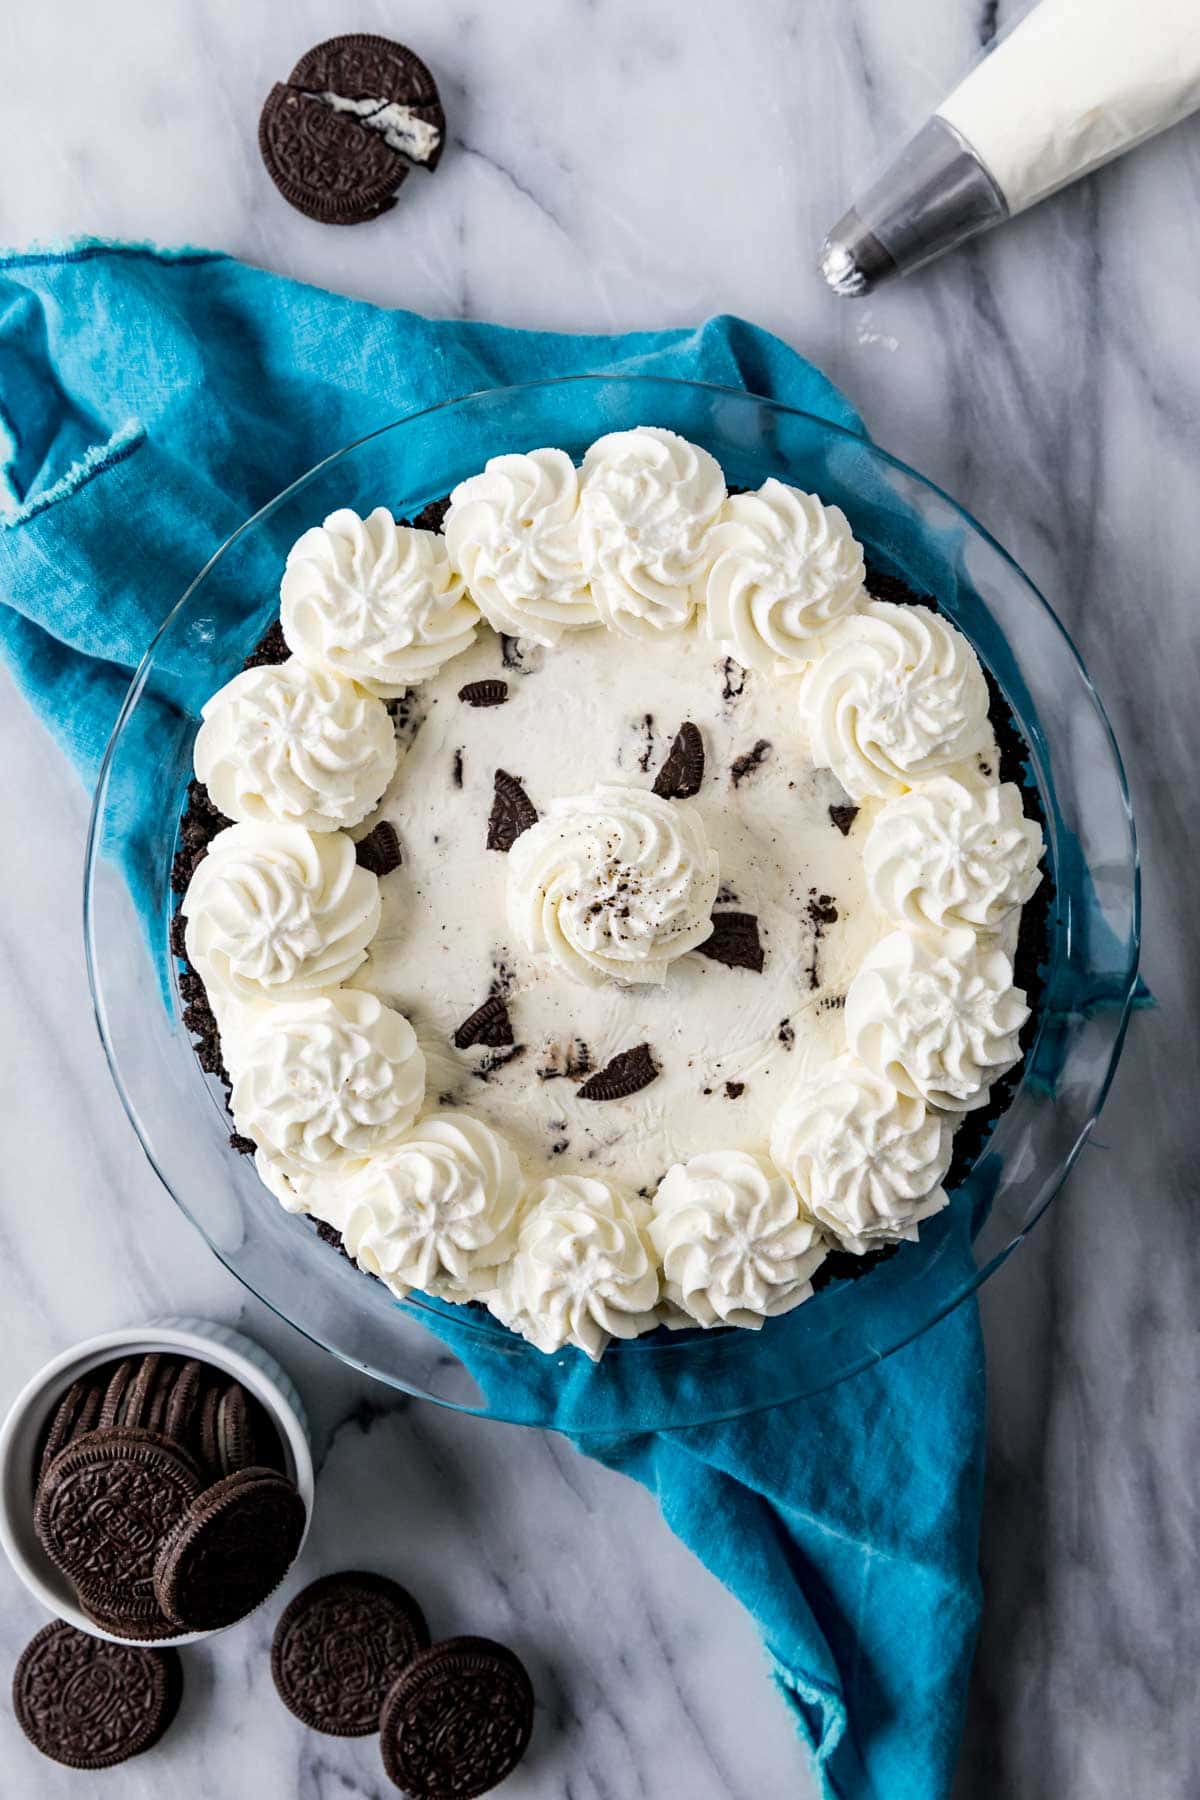
- Decorate and serve! Remove the plastic wrap and decorate with piped homemade whipped cream. I like to use an Ateco 846 tip for this!
Frequently Asked Questions
Nope! The beauty of this whole Oreo pie is that it doesn’t need to be baked. Just let it sit while you prepare your filling, and then it will continue to set up in the fridge with the filling during the chilling step.
Yes! Just make sure to cover it well so it doesn’t absorb any odors from your freezer. Oreo pie can be frozen for up to 3 months.
Yes, but you will have extra filling if you do. My recipe is designed for a 9.5″ pie plate, and most store-bought crusts are smaller than that. You do not need to bake a pre-made crust before adding the filling.
I’m sure you could, but really recommend going with homemade whipped cream here. It’s so easy to make, contains no preservatives or oils, and the flavor is unparalleled.
If you’re looking for more easy-breezy summertime desserts, try my peanut butter pie or chocolate icebox pie next!
Enjoy!
Let’s bake together! I’ll be walking you through all the steps in my written recipe and video below! If you try this recipe, be sure to tag me on Instagram, and you can also find me on YouTube and Facebook
Oreo Pie
Ingredients
For Crust
- 25 Oreo cookies
- 4 Tablespoons (55 g) butter melted (salted or unsalted is fine)
For Filling
- 1 ½ cups (354 ml) heavy cream cold
- 1 cup (125 g) powdered sugar divided
- 16 oz cream cheese softened (see note)
- ¼ cup (56 g) sour cream
- 1 teaspoon vanilla extract
- 15 Oreo cookies broken into pieces (see note)
- Whipped cream for topping optional
Recommended Equipment
Instructions
For Crust
- Place cookies in the basin of a food processor and pulse in 1-second intervals until you have fine crumbs.25 Oreo cookies
- Pour crumbs into a large mixing bowl and pour melted butter overtop. Use a spoon or spatula to mix together cookie crumbs and butter until all crumbs have been coated.4 Tablespoons (55 g) butter
- Pour into a 9.5” pie plate and press firmly into the bottom and up the sides. Place pie crust in the refrigerator while you prepare the filling.
For Filling
- Pour heavy cream into a large mixing bowl and add about ½ cup (62g) powdered sugar.1 ½ cups (354 ml) heavy cream, 1 cup (125 g) powdered sugar
- Use an electric mixer to beat until you have stiff, fluffy peaks. Set aside.
- In a separate large mixing bowl, combine cream cheese, remaining powdered sugar (about 63g), sour cream, and vanilla extract until smooth and well-combined.16 oz cream cheese, ¼ cup (56 g) sour cream, 1 teaspoon vanilla extract
- Add whipped cream to cream cheese mixture and use a spatula to gently fold together until mixture is uniform.
- Add broken Oreo pieces and gently fold together until well distributed. Pour filling into prepared pie crust, cover with plastic wrap, and chill in the refrigerator for at least 6 hours (preferably overnight) and up to 4 days before enjoying (pie may also be frozen). If desired, top with whipped cream before serving.15 Oreo cookies, Whipped cream for topping
Notes
Pie Crust
You may use a smaller pie plate but note that you may have to discard some filling. This will be too much filling for most store-bought crusts.Cream Cheese
Use full-fat (not low-fat) cream cheese, preferably the kind sold in brick-shape. Do not use “spreadable” cream cheese that is sold in tubs.Oreo Cookies
If you want your pie to be clean white (instead of muddied with fine crumbs) break your cookies into a fine mesh sieve and shake out the small crumbs into the trash before adding the cookies to your pie.Nutrition
Nutritional information is based on third-party calculations and should be considered an estimate only. Actual nutritional content will vary based upon brands used, measuring methods, cooking method, portion sizes, and more.




Melissa Moreno
Hello! I actually made this recipe for Thanksgiving. I used Gluten free Oreos as my little has Celiac and it worked perfectly! Great addition to the pie mix of the season.
Sam
I hope everyone loves it, Melissa! 🙂
Jetea
that recipe was so good i think people actually like it It’s a very easy simple recipe Thank you Sam
Sam
I’m so glad you enjoyed it so much, Jetea! 🙂
Blythe
Your note on freezing says it can be frozen for XX months. How long can it be frozen?
Sam
Whoops! Sorry about that, Blythe, I’ve updated that section.
Anna M.
Made this for Easter for my family and my husbands! They both loved it and it was so easy to put together. I was able to make them the night before and that was a blessing going into the next day when not much else had to be done!
Sam
I’m so glad everyone enjoyed it so much, Anna! 🙂
Anna D.
Made this for Easter and it was a hit! It was so quick and easy to make too.
Sam
I’m so glad you enjoyed it so much, Anna! This is a great dessert for Easter! 🙂
RACHEL
Hi so excited to try this for Easter! I am bringing the pie to a relatives. Can I put the whipped cream on top a few hours before and then put back in fridge? Will it hold fine?
Sam
Hi Rachel! A couple of hours before serving will be just fine. 🙂
Tami G
This looks so yummy. Looking to make this in individual 4 oz servings…do you feel this recipe would work ok?
Sam
Hi Tami! That should work just fine. 🙂
Marcia
Hi Sam!
Very much looking forward to trying this recipe for the Oreo lovers in my life! I can’t find the video on your site or Youtube – can you check if it loaded correctly?
Thanks!
Sam
Hi Marcia! I’m sorry for the delayed response and technical issues. I did end up embedding the youtube video in the post so it should be working now. 🙂